


My Latest Drinks

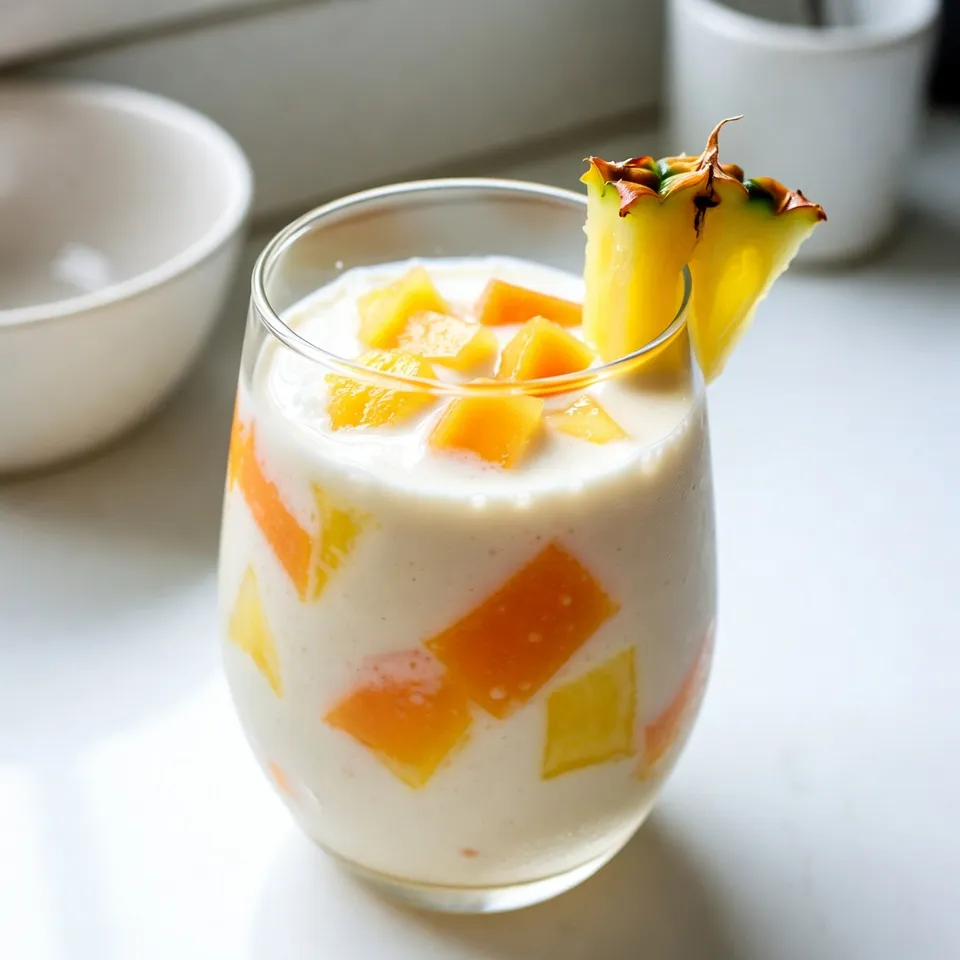
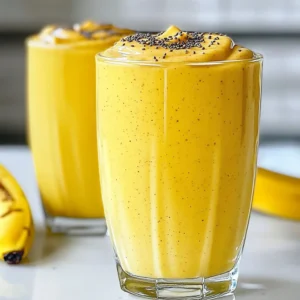
Tropical Pineapple Mango Smoothie Refreshing and Easy
Craving a burst of tropical flavor? This Tropical Pineapple Mango Smoothie is your answer! It’s refreshing, easy, and packed with Read Full Recipe
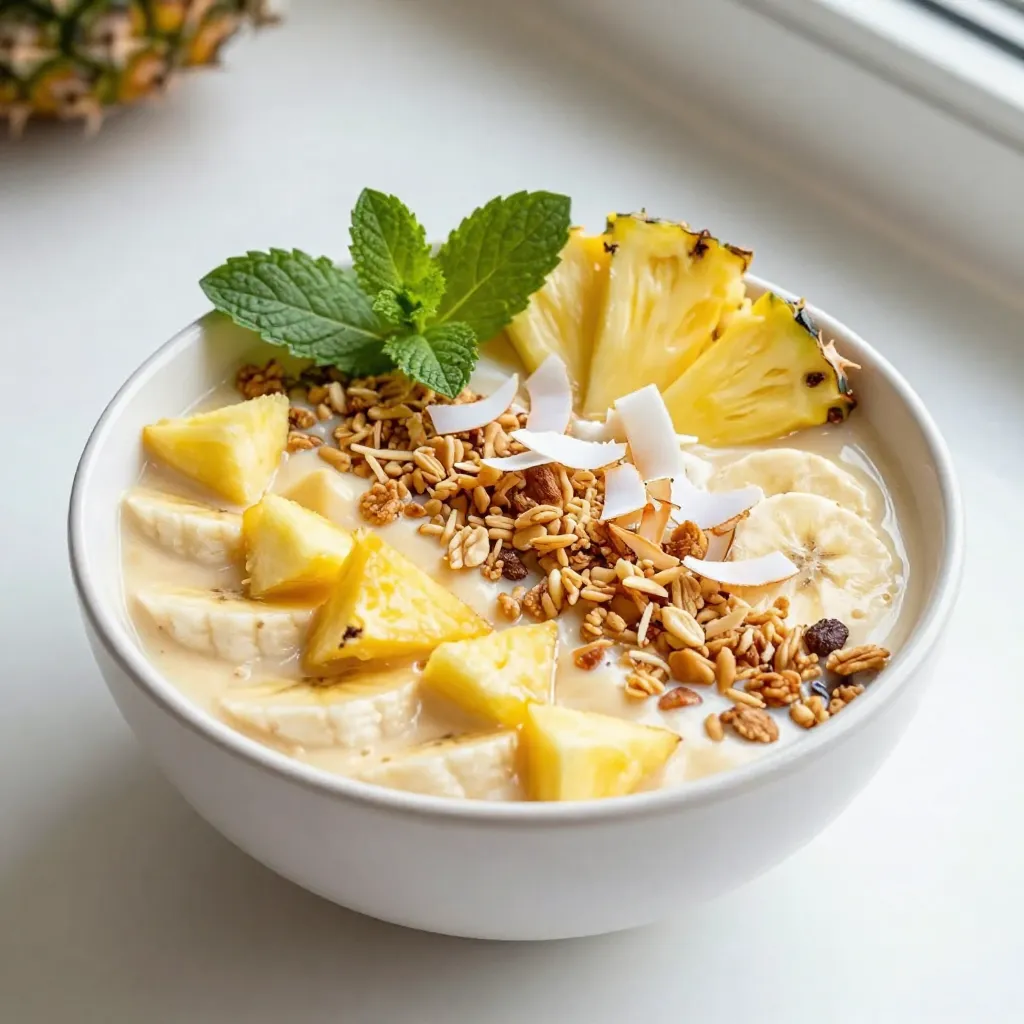
Coconut Pineapple Smoothie Bowl Refreshing Delight
Are you ready to dive into a tropical escape right in your kitchen? This Coconut Pineapple Smoothie Bowl is not Read Full Recipe-
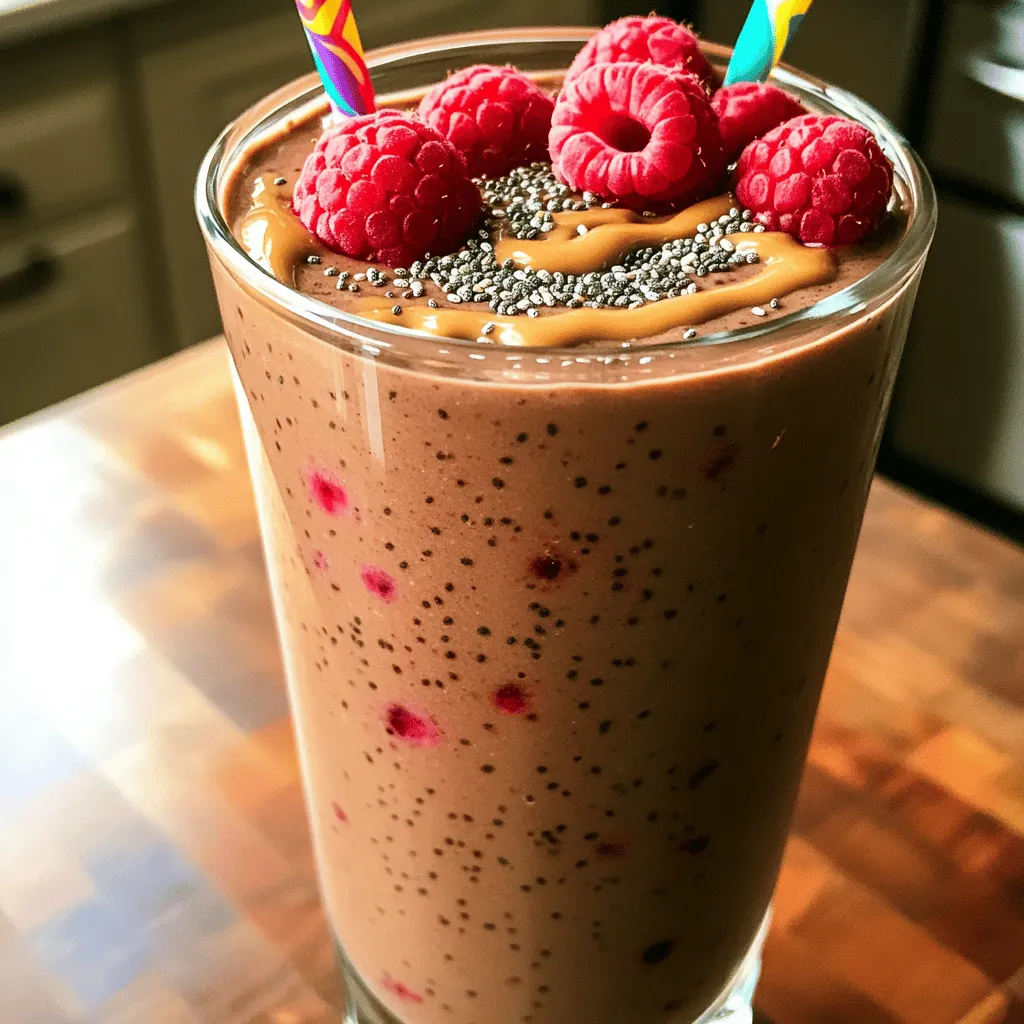
Chocolate Raspberry Protein Smoothie Delightful Treat
If you love a delicious and nutritious treat, you’ll adore my Chocolate Raspberry Protein Smoothie! This delightful blend packs a Read Full Recipe -
Strawberry Cheesecake Smoothie Refreshing and Creamy
Looking for a creamy, refreshing treat? You’ve come to the right place! This Strawberry Cheesecake Smoothie blends fresh strawberries, rich Read Full Recipe -
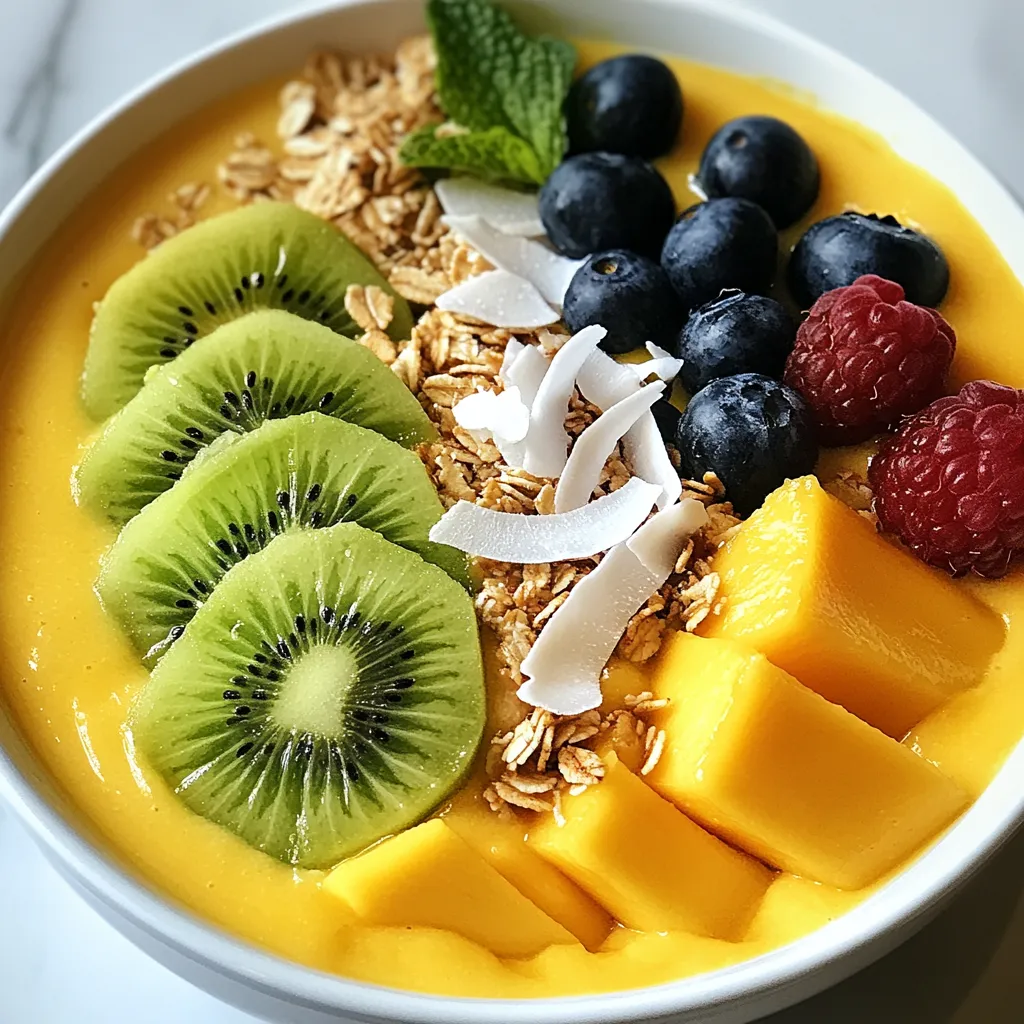
Tropical Mango Smoothie Bowl Fresh and Flavorful Recipe
Are you craving a refreshing and delicious treat? This Tropical Mango Smoothie Bowl is bursting with flavors that transport you Read Full Recipe -
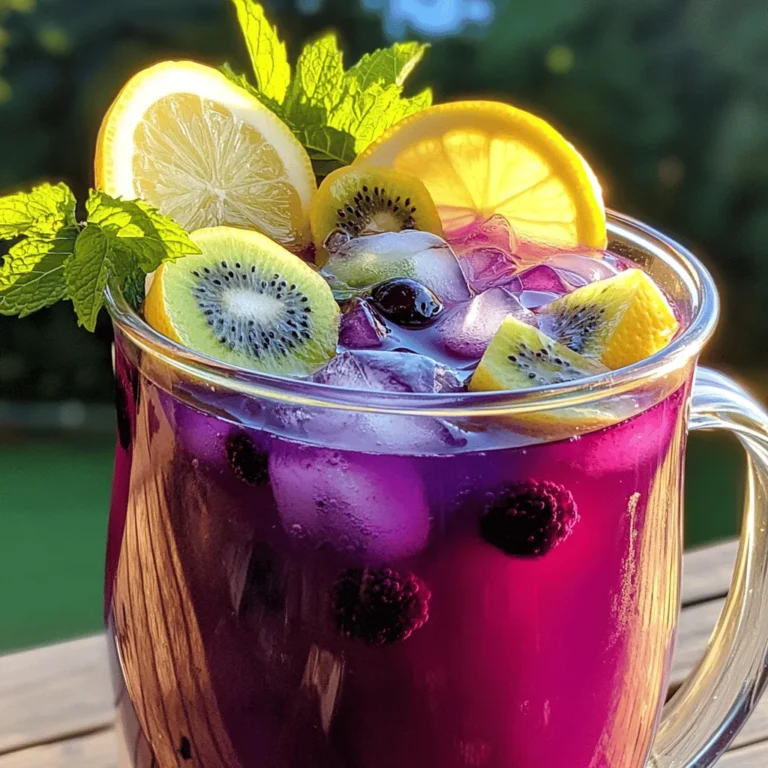
Strawberry Kiwi Sangria Refreshing Summer Delight
Get ready to cool off with my Strawberry Kiwi Sangria! This drink bursts with fresh fruit flavors and is perfect Read Full Recipe


My Latest Appetizers

Yummy!
Appetizers Recipes..


Lemon Garlic Herb Grilled Chicken Flavorful Delight
Ready to take your grilling game to the next level? This Lemon Garlic Herb Grilled Chicken recipe delivers bold flavors that will impress your…


hey,
i’m !
I’m so happy you’re here!
I’ve poured heart and skill into recipes that are ready to delight you. Come along and let’s relish this culinary adventure!

My Latest Dinners
Yummy!