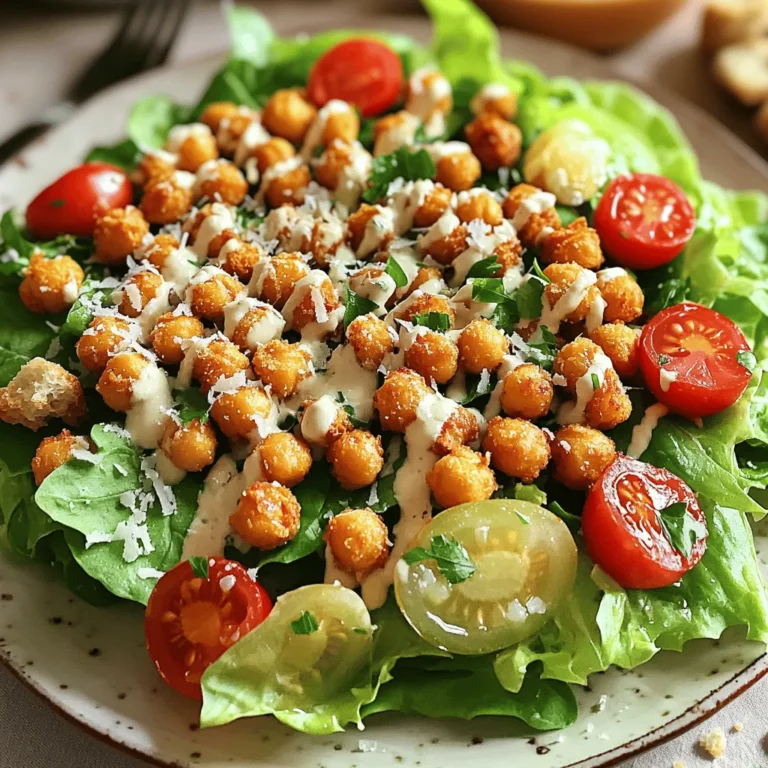
Looking for a fresh twist on a classic? This Crispy Chickpea Caesar Salad is both tasty and healthy. Packed with crunchy chickpeas, crisp romaine, and juicy cherry tomatoes, it’s sure to impress. With easy dressing options and tips for perfecting your crispy chickpeas, you’ll master this salad in no time. Let’s dive into this delightful mix of flavors that’s perfect for any meal!
Ingredients
Main Ingredients
– 1 can (15 oz) chickpeas, drained and rinsed
– 4 cups romaine lettuce, chopped into bite-sized pieces
– 1/2 cup cherry tomatoes, sliced in half
Seasonings and Toppings
– 2 tablespoons olive oil
– 1 teaspoon smoked paprika
– 1 teaspoon garlic powder
– Salt and pepper, to taste
– 1/4 cup Parmesan cheese, shaved
– Croutons (optional, for added crunch)
– Fresh parsley, chopped, for garnish
Dressing Options
– 1/4 cup Caesar dressing (store-bought or homemade)
– Check out links for homemade Caesar dressing recipes
The key to this salad is fresh, simple ingredients. The chickpeas give a great crunch, while the romaine adds crispness. Cherry tomatoes bring a sweet burst of flavor. The right seasonings make all the difference. Olive oil adds richness, smoked paprika gives a smoky kick, and garlic powder provides depth.
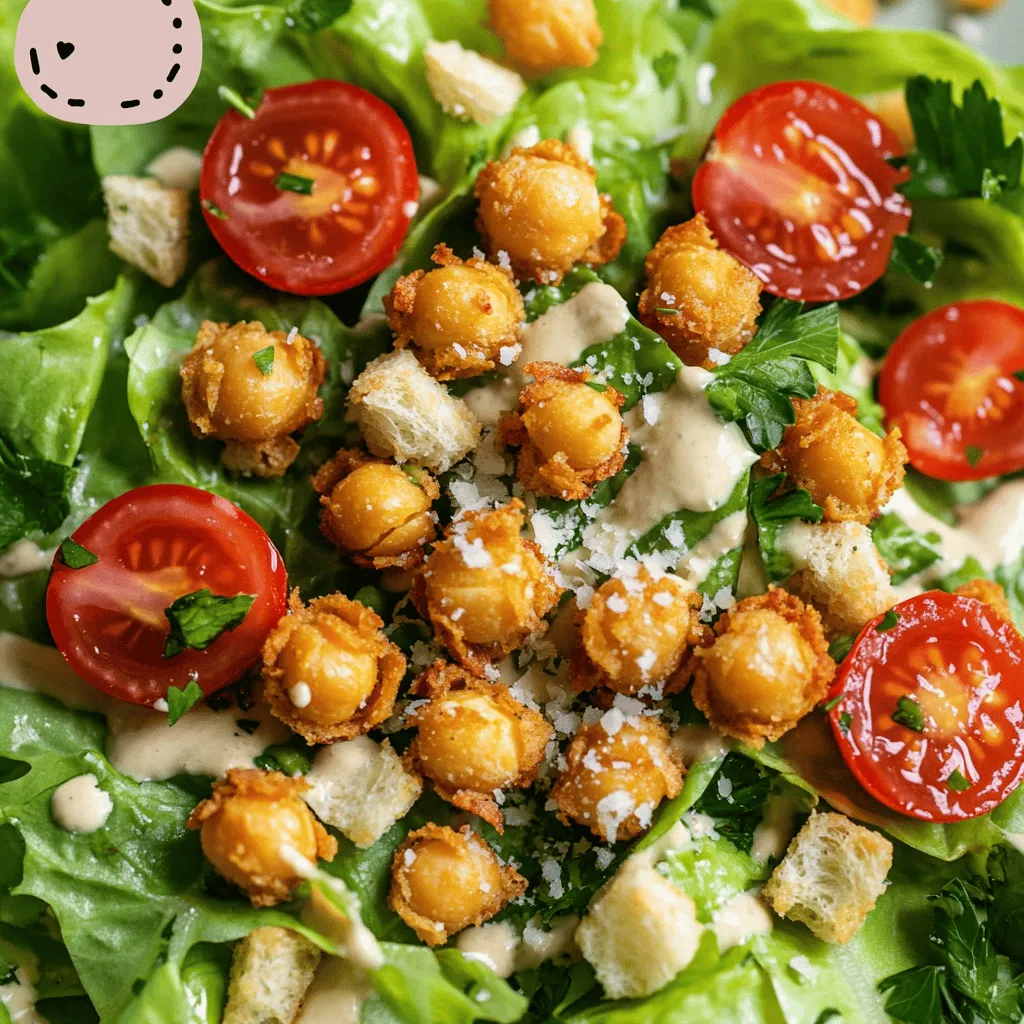
For toppings, I love shaved Parmesan cheese. It adds creaminess and a savory note. Croutons are optional, but they offer extra texture. Fresh parsley brightens the dish and makes it look beautiful. You can easily adjust the dressing, too. You can use store-bought Caesar dressing for speed. If you want to get creative, try making your own.
This Crispy Chickpea Caesar Salad recipe is all about balance. Each ingredient works together to create a tasty and healthy meal.
Step-by-Step Instructions
Preparing the Chickpeas
First, preheat your oven to 400°F (200°C). This heat helps make the chickpeas crispy. In a mixing bowl, add the drained and rinsed chickpeas. Pour in 2 tablespoons of olive oil. Then, sprinkle 1 teaspoon of smoked paprika and 1 teaspoon of garlic powder over them. Add a pinch of salt and pepper, too. Toss everything well so the chickpeas are coated with the seasoning. Next, spread the seasoned chickpeas onto a baking sheet. Make sure they are in a single layer. This helps them roast evenly.
Assembling the Salad
While the chickpeas roast, grab a large salad bowl. Add 4 cups of chopped romaine lettuce and 1/2 cup of halved cherry tomatoes. Those bright tomatoes add a nice touch! Now, pour 1/4 cup of Caesar dressing over the greens. Gently toss everything together. The dressing should coat all the veggies well.
Final Touches
When the chickpeas are golden and crispy, take them out of the oven. Let them cool for a few minutes. Then, add the warm chickpeas to your salad bowl. For a lovely finish, garnish with 1/4 cup of shaved Parmesan cheese. Sprinkle some fresh parsley on top for color. If you want extra crunch, toss in some croutons before serving. Serve right away. Enjoy the warm, crispy chickpeas with fresh, crunchy greens.
Tips & Tricks
Perfecting Crispy Chickpeas
To get perfectly crispy chickpeas, follow a few key steps. First, preheat your oven to 400°F (200°C). This hot temperature helps to dry out the chickpeas, making them crispy. Bake them for 25 to 30 minutes. Be sure to stir them halfway through. This step ensures even cooking and prevents burning.
Salad Assembly Tips
When you assemble your salad, coat the greens with dressing evenly. Start with a small amount of dressing and toss gently. You can always add more if needed. Aim for about a quarter cup of dressing for four cups of greens. This gives you the best flavor without making the salad soggy.
Storage & Meal Prep Advice
Store leftover salad and chickpeas separately. This keeps the salad fresh and the chickpeas crispy. Use airtight containers to keep them fresh. For the chickpeas, place them in the fridge. To keep them crispy longer, reheat them in the oven for a few minutes before serving. This trick revives their crunch and flavor.
Variations
Chickpea Salad Additions
You can make your crispy chickpea Caesar salad even better! Try adding avocado for creaminess. Sliced bell peppers bring a nice crunch and sweet flavor. You can also swap in different greens. Kale or spinach works well and adds more nutrients.
Different Dressings
While Caesar dressing is tasty, you can explore other options. Ranch dressing offers a creamy twist. A light vinaigrette can make it refreshing. Customizing your dressing lets you fit your taste and dietary needs. Enjoy experimenting to find your favorite flavor!
Vegan and Gluten-Free Options
If you want a vegan version, there are easy swaps. Use a dairy-free cheese or skip it entirely. For croutons, try baked chickpeas or seeds for crunch. Make sure all ingredients match your dietary needs. With a few tweaks, anyone can enjoy this salad!
Storage Info
How to Store Leftovers
To keep your salad fresh, store leftovers in an airtight container. You can use glass or plastic containers. This helps keep the flavors locked in. Ideally, eat the salad within 2 days for the best taste and texture. If the chickpeas sit too long, they may lose their crispness.
Reheating and Refreshing Tips
If you want to re-crisp the chickpeas, use the oven. Preheat it again to 400°F (200°C). Spread the chickpeas on a baking sheet and bake for 5-10 minutes. This will bring back their crunch. For the salad, add fresh greens or a little more dressing to brighten it up. Toss before serving to mix everything well.
Meal Prep Strategies
You can make this salad in parts to save time. Prepare the chickpeas and store them separately. Wash and chop your lettuce and veggies a day in advance. Keep them in the fridge in a sealed bag. Combine everything just before serving. This keeps the salad fresh and tasty. Enjoy the perfect mix of flavors right when you eat!
FAQs
Can I use dried chickpeas instead of canned?
Yes, you can use dried chickpeas. Here’s how to cook them:
1. Soak: Place 1 cup of dried chickpeas in a bowl. Cover them with water. Let them soak overnight.
2. Cook: Drain the soaked chickpeas. Add them to a pot with fresh water. Bring to a boil. Lower the heat and simmer for about 1 to 1.5 hours.
3. Test: The chickpeas are ready when they are soft but not mushy. Drain them well before using in the salad.
Using dried chickpeas adds a great texture and taste. They are also more cost-effective and less salty than canned.
How can I make this salad nut-free?
To make this salad nut-free, skip any nut-based toppings. Here are some tasty substitutes:
– Seeds: Try sunflower seeds or pumpkin seeds for crunch.
– Cheese: Use more Parmesan cheese or try a nut-free cheese alternative.
– Croutons: Make sure your croutons do not contain nuts. Many store-bought options are safe.
These substitutes keep your salad crunchy and delicious without nuts.
What can I use if I’m allergic to gluten?
If you need a gluten-free salad, here are some options:
– Gluten-Free Croutons: Look for croutons labeled gluten-free. Many brands offer them.
– Homemade Croutons: Make your own using gluten-free bread. Cut it into cubes, toss with olive oil, and bake.
– Alternative Crunch: Instead of croutons, use roasted chickpeas or seeds for added texture.
These choices help you enjoy the salad without gluten.
What are some protein options to add?
You can boost the protein in this salad with several tasty options:
– Grilled Chicken: Add sliced grilled chicken breast for a hearty touch.
– Tofu: Use firm tofu, grilled or sautéed, for a plant-based option.
– Shrimp: Grilled shrimp adds a nice flavor and pairs well with Caesar dressing.
These options make the salad filling and nutritious.
We covered how to make a delicious chickpea salad. You learned about key ingredients, like chickpeas, greens, and tasty dressings. I shared easy steps to prepare and assemble the salad. You also got tips on perfecting crispy chickpeas and meal prep.
In the end, customize your salad to suit your taste. Enjoy making this healthy dish your own! Happy cooking!

