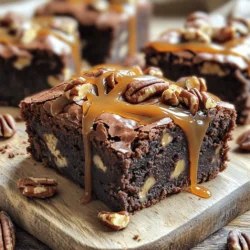
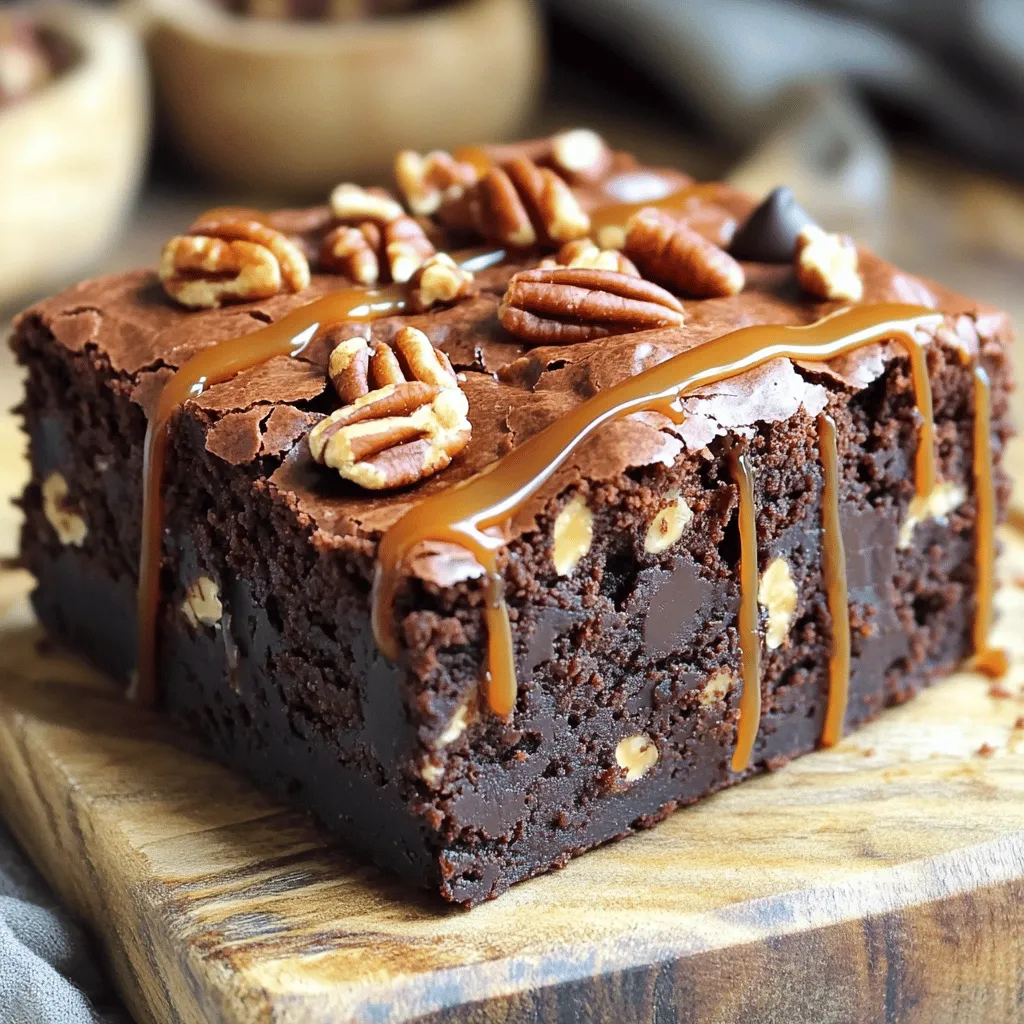
Are you craving a rich dessert that combines chocolate, caramel, and nuts? Look no further! I’m excited to share my recipe for Chocolate Turtle Brownies. These chewy, fudgy treats are layered with gooey caramel and crunchy pecans. Perfect for any occasion, they’re simple to make and sure to please. Let’s dive into the ingredients and steps to create this irresistible delight that will have everyone asking for more!
Ingredients
Complete list of ingredients
– 1 cup unsalted butter, melted
– 2 cups granulated sugar
– 4 large eggs
– 1 teaspoon vanilla extract
– 1 cup all-purpose flour
– 1 cup unsweetened cocoa powder
– 1/2 teaspoon salt
– 1 cup semi-sweet or dark chocolate chips
– 1 cup pecans, roughly chopped
– 1 cup caramel sauce
Each ingredient plays a key role in making these brownies special.
– Unsalted butter adds richness and moisture. It helps the brownies stay soft.
– Granulated sugar sweetens the brownies and helps create a chewy texture.
– Eggs provide structure and bind the ingredients together. They also add moisture.
– Vanilla extract gives a warm, sweet flavor that balances the chocolate.
– All-purpose flour is the base of the brownies. It gives them structure.
– Unsweetened cocoa powder brings the deep chocolate flavor we love.
– Salt enhances all the flavors and balances the sweetness.
– Chocolate chips melt into gooey pockets of chocolate throughout the brownies.
– Pecans add a nice crunch and nutty flavor, making each bite interesting.
– Caramel sauce provides a sweet, sticky layer that makes these brownies truly irresistible.
Ingredient substitutions for dietary needs
If you need to make changes for diet needs, here are some options:
– Butter: Use coconut oil for a dairy-free option.
– Sugar: You can swap granulated sugar with coconut sugar for a lower glycemic index.
– Eggs: Use flax eggs (1 tablespoon ground flaxseed + 2.5 tablespoons water = 1 egg) for a vegan option.
– Flour: Substitute all-purpose flour with gluten-free flour blend for a gluten-free version.
– Chocolate chips: Choose dairy-free chocolate chips for a vegan treat.
– Pecans: If nuts are a concern, leave them out or use sunflower seeds for crunch.
These swaps keep the spirit of the dessert while catering to different needs. You can still enjoy the rich, gooey flavors of Chocolate Turtle Brownies!
Step-by-Step Instructions
Preparation
1. Preheat your oven to 350°F (175°C).
2. Get a 9×13-inch baking pan. Lightly grease it or line it with parchment paper. This helps with easy removal after baking.
3. In a large bowl, mix 1 cup of melted unsalted butter and 2 cups of granulated sugar. Use a whisk until it’s smooth and creamy.
4. Add 4 large eggs one by one into the butter mixture. Mix each egg well before adding the next. Then, stir in 1 teaspoon of vanilla extract.
5. In another bowl, sift together 1 cup of all-purpose flour, 1 cup of unsweetened cocoa powder, and 1/2 teaspoon of salt.
6. Slowly add the dry mix to the wet mix. Stir gently until just combined. Do not overmix.
7. Fold in 1 cup of semi-sweet or dark chocolate chips and half of 1 cup of chopped pecans.
Layering the Brownies
1. Pour half of the brownie batter into your prepared baking pan. Spread it evenly.
2. Drizzle half of 1 cup of caramel sauce over the brownie layer. Make sure it is spread evenly.
3. Add the remaining brownie batter on top, smoothing it out.
4. Drizzle the rest of the caramel sauce over the top. Sprinkle the remaining pecans.
Baking
1. Place the pan in the oven and bake for 25-30 minutes.
2. To check for doneness, use a toothpick. It should come out with a few moist crumbs. This means your brownies are fudgy and perfect.
3. Avoid overbaking. It can dry them out.
4. When done, take the pan out and let it cool on a wire rack for at least 30 minutes. This helps them set and makes slicing easier.
Tips & Tricks
Achieving the perfect fudgy texture
To get those perfect fudgy brownies, avoid overmixing the batter. Just mix until you see no dry flour. This keeps the brownies soft and gooey. Also, be careful not to overbake. Check them at 25 minutes. A toothpick should come out with a few moist crumbs. Overbaking will make them dry and cake-like, which is not what you want.
Cooling is key too. Once you take them out of the oven, let them cool in the pan for at least 30 minutes. This helps them set, making it easier to slice. If you cut them too soon, they may fall apart. Allowing them to cool also helps the flavors develop.
Presentation ideas
For a stunning treat, serve the brownies warm. Drizzle extra caramel sauce on top of each piece. The sauce adds sweetness and enhances the rich chocolate flavor. A light sprinkle of sea salt on top gives a nice contrast to the sweetness. It also brings out the chocolate taste even more.
Pair the brownies with a scoop of vanilla ice cream. The cold ice cream melts into the warm brownies, creating a delightful mix of textures and flavors. You can also add whipped cream or nuts for extra crunch.
Variations
Gluten-free alternatives
You can easily make gluten-free Chocolate Turtle Brownies. Use almond flour or a gluten-free blend. These flours work well to create a soft texture. When using almond flour, you may want to add a bit of cornstarch. This will help bind the brownies together. Always check if your flour is certified gluten-free to avoid cross-contamination.
Vegan version
To make these brownies vegan, swap the eggs for flax eggs. Mix 1 tablespoon of ground flaxseed with 2.5 tablespoons of water. Let it sit for a few minutes until it thickens. For the butter, use coconut oil or vegan butter. Replace the caramel with a store-bought vegan version or make your own from coconut milk and sugar.
Flavor enhancements
You can add new flavors to your brownies for a fun twist. Try mixing in a tablespoon of espresso powder. This will enhance the chocolate flavor. You can also add nuts like walnuts or almonds for extra crunch. Using dark chocolate chips instead of semi-sweet gives a rich taste. Experiment with different types of chocolate to find your favorite mix!
Storage Info
Best practices for storage
To keep your Chocolate Turtle Brownies fresh, use an airtight container. This helps maintain moisture. Line the container with parchment paper for easy removal. Store them at room temperature for the best texture. Avoid direct sunlight or heat sources, as they can dry out the brownies.
How long do they last?
At room temperature, these brownies can last about 3 to 5 days. If you put them in the fridge, they can last up to a week. However, chilling might change the texture slightly, making them a bit firmer. Always check for any signs of spoilage before eating.
FAQs
Can I freeze Chocolate Turtle Brownies?
Yes, you can freeze these brownies. First, let them cool completely in the pan. Then, cut them into squares. Wrap each square in plastic wrap. Place the wrapped brownies in an airtight container or a freezer bag. You can freeze them for up to three months. When you are ready to eat, take them out and let them thaw in the fridge overnight. For a quick warm-up, pop them in the microwave for a few seconds. This keeps them soft and fudgy.
What if I don’t have caramel sauce?
If you lack caramel sauce, don’t worry! You can use chocolate syrup instead. It gives a sweet and rich flavor. You can also try making your own caramel. To do this, melt 1 cup of sugar over medium heat. Stir it until it turns golden brown. Then, add 1/2 cup of heavy cream and stir until smooth. This homemade caramel works well in the brownies and adds a personal touch.
How can I make these brownies less sweet?
To tone down the sweetness, you can reduce the sugar. Cut the sugar amount by 1/2 cup. You can also use dark chocolate chips instead of semi-sweet ones. They add a deeper flavor without too much sweetness. Lastly, try adding a pinch of sea salt on top. This balances the flavors and makes each bite more enjoyable.
In this post, I covered how to make delicious Chocolate Turtle Brownies. We discussed every ingredient and its role. I shared step-by-step instructions for baking and layering. You learned tips for perfect texture and great presentation ideas. We explored variations for gluten-free and vegan options. Lastly, I shared the best storage practices.
Enjoy your baking adventure! These brownies can bring joy to anyone. Experiment with flavors and toppings to make them your own. Enjoy the process and share with friends. Happy baking!