WANT TO SAVE THIS RECIPE?
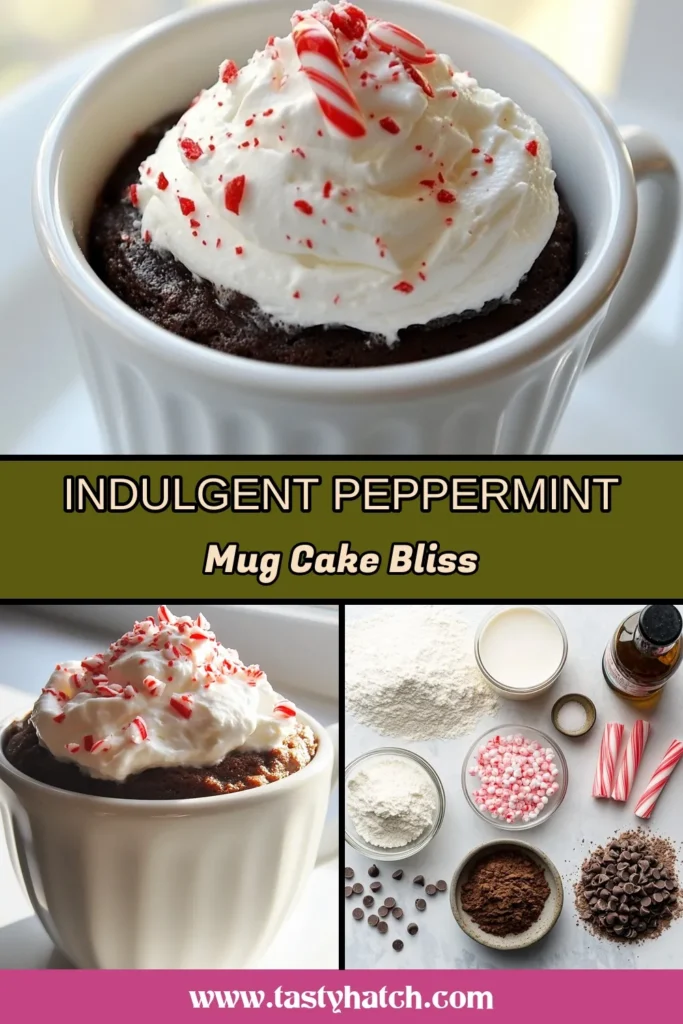
Get ready to warm up your winter nights with a simple, mouthwatering treat: the Chocolate Peppermint Mug Cake! This festive dessert is not only easy to make but also bursts with flavor, making it the perfect cozy snack. Whether you’re celebrating the holidays or just craving something sweet, this mug cake hits the spot. Join me as we dive into the ingredients and instructions for this delightful recipe!
Why I Love This Recipe
- Quick and Easy: This mug cake takes only 5 minutes to prepare and cook, making it a perfect last-minute dessert option.
- Festive Flavor: The combination of chocolate and peppermint creates a delightful holiday-inspired treat that captures the spirit of the season.
- Customizable: You can easily adjust the ingredients or toppings to suit your preferences, whether you want more chocolate or a different flavor profile.
- Single Serving: This recipe is designed for one, so you can indulge without the temptation of leftovers calling your name!
Ingredients
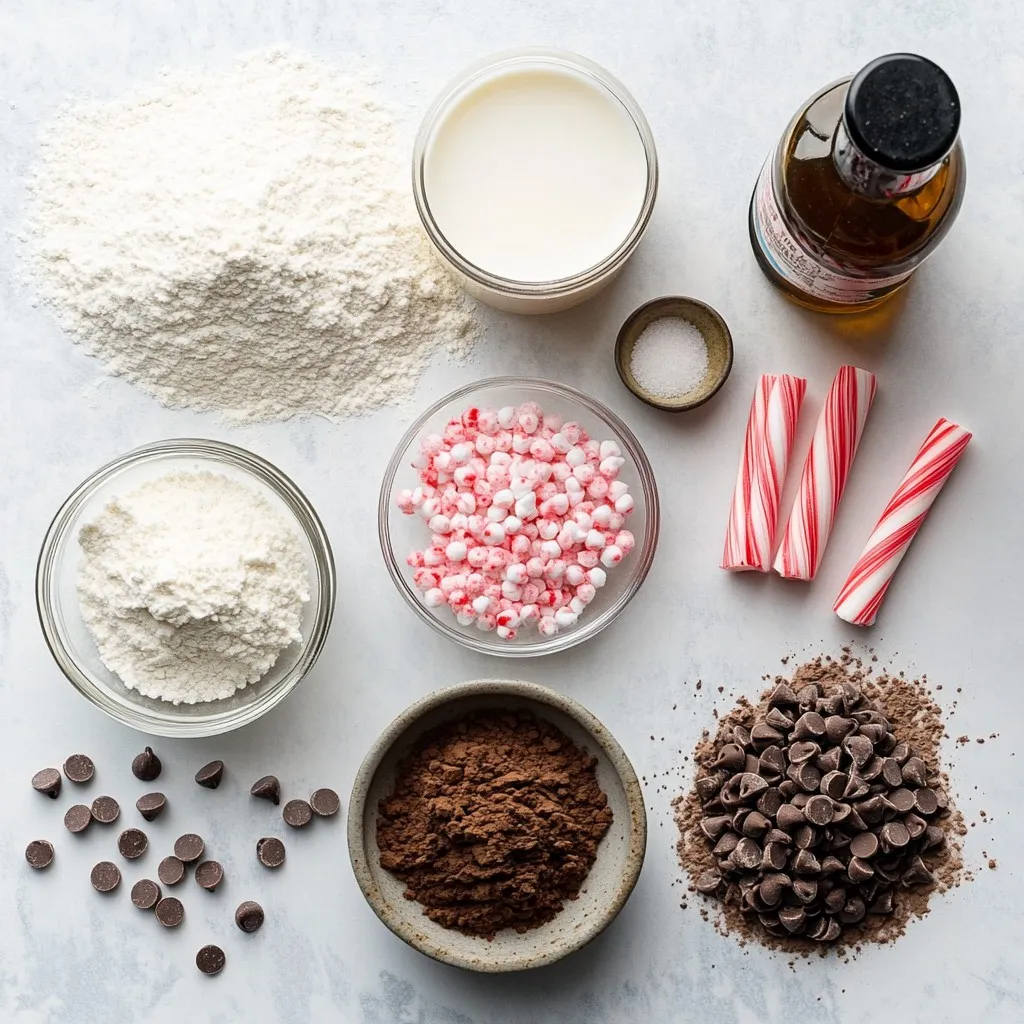
To make a Chocolate Peppermint Mug Cake, you need simple ingredients. Here is what you’ll need:
– 4 tablespoons all-purpose flour
– 4 tablespoons granulated sugar
– 2 tablespoons unsweetened cocoa powder
– 1/8 teaspoon baking powder
– 1/8 teaspoon salt
– 3 tablespoons milk
– 2 tablespoons vegetable oil
– 1/4 teaspoon peppermint extract
– 1 tablespoon mini chocolate chips (optional)
– Whipped cream and crushed candy canes for topping
Each ingredient plays an important role. The flour gives the cake structure. Sugar adds sweetness. Cocoa powder brings rich chocolate flavor. Baking powder helps the cake rise. Salt balances the sweetness. Milk and oil keep the cake moist. Peppermint extract adds that festive touch. Chocolate chips give extra joy in every bite.
Feel free to adjust the ingredients to your taste. You can skip the chocolate chips if you want a lighter cake. The toppings are a fun way to make it festive! Whipped cream adds creaminess, and crushed candy canes bring a nice crunch. Enjoy gathering these ingredients and let’s get ready to bake!

Step-by-Step Instructions
Preparation of Dry Ingredients
Start by taking a microwave-safe mug. Add 4 tablespoons of all-purpose flour, 4 tablespoons of granulated sugar, 2 tablespoons of unsweetened cocoa powder, 1/8 teaspoon of baking powder, and 1/8 teaspoon of salt.
Use a whisk to mix these dry ingredients well. Make sure you break up any lumps. This step is key for a smooth cake.
Combining Wet Ingredients
Next, pour in 3 tablespoons of milk and 2 tablespoons of vegetable oil.
Use a fork or whisk to mix until the batter is smooth. Keep mixing until no lumps remain. This creates a rich and creamy texture.
Final Mixing and Cooking
Now, add 1/4 teaspoon of peppermint extract and, if you like, 1 tablespoon of mini chocolate chips. Stir well to combine these flavors.
Place your mug in the microwave and cook on high for 1 minute and 30 seconds. After this time, check if the cake is done. It should be set in the center.
If it still looks wet, microwave it in 10-second intervals until it is fully cooked.
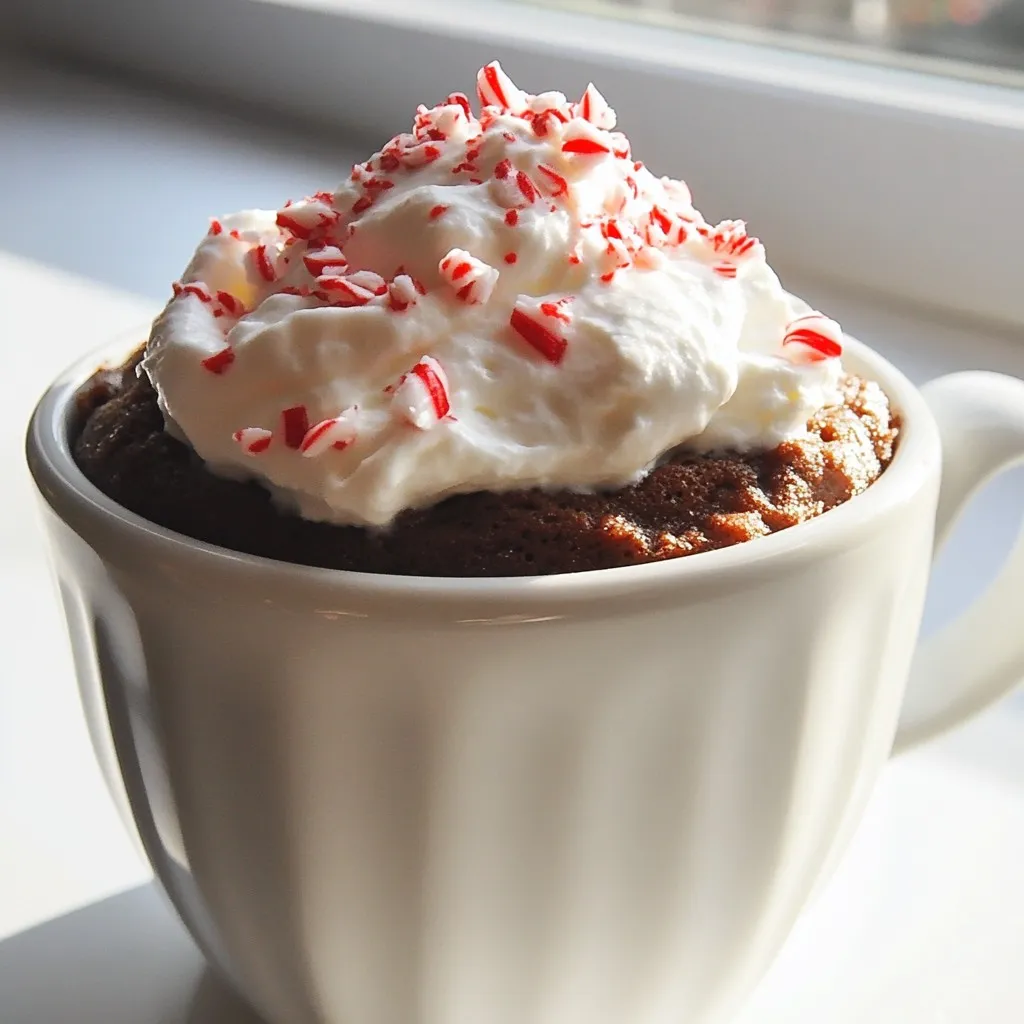
Once cooked, carefully take the mug out (it will be hot!). Let the cake cool for about a minute.
Top it with whipped cream and a sprinkle of crushed candy canes for a festive finish. Enjoy your warm and tasty treat!
Tips & Tricks
Achieving the Perfect Texture
To get a great texture, avoid overmixing the batter. Mix just until the dry and wet ingredients blend. Too much mixing can make your cake tough. You want it light and fluffy.
Timing is key for cooking. Start with 1 minute and 30 seconds in the microwave. Check if the cake is set in the center. If it looks wet, add 10 more seconds. Keep checking until it’s done. Each microwave can cook differently, so watch closely.
Enhancing Flavors
For extra peppermint flavor, add a bit more peppermint extract. Just a drop or two can boost the taste. If you want a stronger kick, try a sprinkle of crushed candy canes in the batter.
You can also swap ingredients for your diet. For a gluten-free version, use a gluten-free flour blend. For vegan needs, try almond milk and a plant-based oil. These swaps still keep the cake delicious and festive.
Pro Tips
- Use Room Temperature Ingredients: Ensuring your milk and oil are at room temperature will help the batter mix more smoothly, resulting in a fluffier mug cake.
- Microwave Power Varies: Keep in mind that microwaves vary in power. Start with 1 minute and 30 seconds, then check for doneness, adding time in small increments if necessary.
- Experiment with Toppings: Feel free to get creative with toppings! Besides whipped cream and crushed candy canes, consider adding chocolate syrup, sprinkles, or even a scoop of ice cream.
- Perfect for Customizing: This mug cake recipe is versatile; try adding different extracts or spices, like vanilla or cinnamon, to give it a personal twist!
Variations
Flavor Additions
To make your Chocolate Peppermint Mug Cake even more fun, try adding different flavors. You can use vanilla or almond extracts instead of peppermint. Just swap the same amount of extract. These flavors can change the taste while still keeping it delicious.
You can also boost the texture and taste by mixing in nuts or different types of chocolate. Chopped walnuts or pecans can add crunch. You might also try milk, dark, or white chocolate chips for a twist. This way, you can create your own unique cake!
Dietary Modifications
If you want to make this cake gluten-free, simply replace the all-purpose flour with a 1:1 gluten-free flour mix. This keeps the texture light and soft. Be sure to check the labels for any hidden gluten in your other ingredients.
For a vegan option, you can swap regular milk for almond or soy milk. Use a plant-based oil, like coconut oil, instead of vegetable oil. Lastly, choose a vegan peppermint extract and skip the whipped cream or use a non-dairy alternative. These changes help everyone enjoy this festive treat!
Storage Info
Best Practices for Storing
To store leftover mug cake, let it cool down first. Then, cover the mug with plastic wrap or a plate. This keeps it fresh. You can also transfer the cake to an airtight container. Store it in the fridge if you plan to eat it later.
For reheating, place the mug cake in the microwave. Heat it in short bursts of 10 seconds. Check after each burst to see if it’s warm enough. This way, it stays moist.
Shelf Life
The mug cake stays good for about 2 to 3 days in the fridge. If you see any signs of mold or off-smells, it’s best to throw it away. Also, if the cake feels dry or hard, it has gone bad. Enjoy your festive treat while it’s fresh!
FAQs
Can I make this mug cake without a microwave?
Yes, you can bake the mug cake in an oven. Preheat your oven to 350°F (175°C). Use an oven-safe mug or a small ramekin. After mixing your ingredients, pour the batter into the mug. Place it on a baking sheet. Bake for about 15 to 18 minutes. Check if the center is set before removing it from the oven. Enjoy your festive treat!
How can I customize the serving size?
To serve more people, simply multiply the recipe. Each mug cake serves one, so for two people, use double the ingredients. For three, use triple. Mix each batch in separate mugs for even baking. If you want to bake all at once, use a larger dish. Just keep an eye on cooking time, as it may change.
What can I use instead of peppermint extract?
If you lack peppermint extract, you can try other flavors. Use vanilla extract for a sweet touch. Almond extract adds a nice nutty flavor. If you prefer spice, add a dash of cinnamon or nutmeg. Use the same amount, about 1/4 teaspoon, for each alternative. Experiment and find your favorite flavor twist!
You now have a simple mug cake recipe with all the necessary ingredients and steps. Remember, mix your dry and wet parts well for the best results. Don’t forget to explore different flavors and dietary options to make it your own. Store leftovers carefully and keep an eye on their shelf life. This cake is quick, easy, and fun to customize. Enjoy your delicious treat and the joy of making i
Chocolate Peppermint Mug Cake
A quick and festive mug cake infused with chocolate and peppermint flavors, perfect for a cozy treat.
Prep Time 5 minutes mins
Cook Time 2 minutes mins
Total Time 10 minutes mins
Course Dessert
Cuisine American
Servings 1
Calories 350 kcal
- 4 tablespoons all-purpose flour
- 4 tablespoons granulated sugar
- 2 tablespoons unsweetened cocoa powder
- 1 teaspoon baking powder
- 1 teaspoon salt
- 3 tablespoons milk
- 2 tablespoons vegetable oil
- 1 teaspoon peppermint extract
- 1 tablespoon mini chocolate chips (optional)
- 1 serving whipped cream for topping
- 1 serving crushed candy canes for topping
Begin by taking a microwave-safe mug and adding the all-purpose flour, granulated sugar, unsweetened cocoa powder, baking powder, and salt. Whisk the mixture thoroughly until all dry ingredients are well combined and free of lumps.
Pour in the milk and vegetable oil into the dry mixture. Use a fork or whisk to mix until the batter is smooth and uniform, ensuring there are no lumps remaining.
Next, add the peppermint extract to the batter, followed by mini chocolate chips if you choose to use them. Stir to ensure all ingredients are integrated evenly for that perfect burst of flavor in every bite.
Place the mug in the microwave and cook on high for 1 minute and 30 seconds. After this time, check the cake’s doneness; it should be set in the center. If it still appears wet, continue to microwave in 10-second intervals until fully cooked through.
Once cooked, remove the mug from the microwave (be cautious of the heat!) and allow the cake to cool for about a minute. Finally, to elevate the festive appeal, generously top your mug cake with whipped cream and finish with a sprinkle of crushed candy canes for a delightful peppermint crunch.
Microwave times may vary based on wattage; adjust accordingly.
Keyword chocolate, mug cake, peppermint, quick dessert
WANT TO SAVE THIS RECIPE?