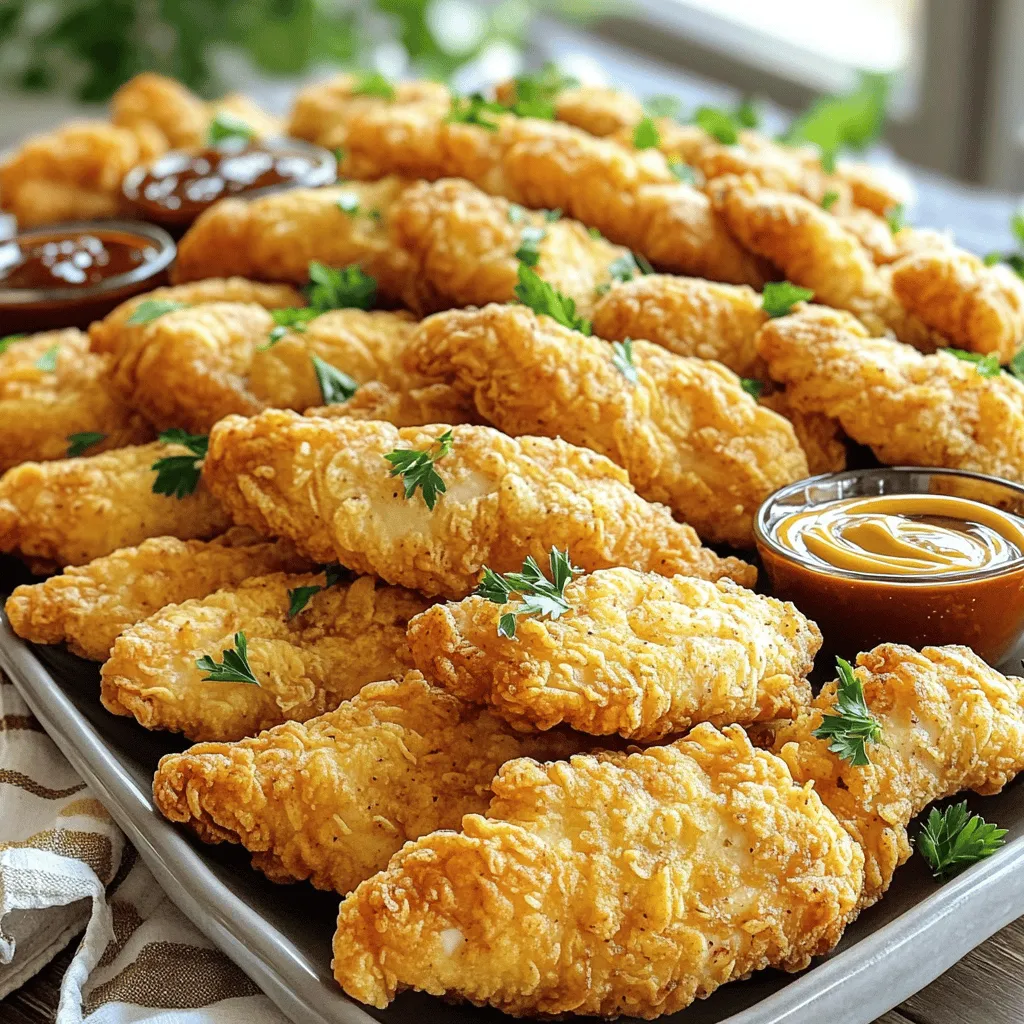
Craving crispy chicken tenders that are simple and tasty? You’re in the right place! I’ll guide you through an easy recipe that turns tender chicken into a crunchy delight. With just a few ingredients and a bit of love, you can impress your family or friends. Get ready to learn how to make the perfect chicken tenders that will keep everyone coming back for more! Let’s dive into the tasty details!
Ingredients
Main Ingredients
– 2 pounds chicken tenderloins
– 1 cup all-purpose flour
– 1 cup panko breadcrumbs
– ½ cup buttermilk
Chicken tenderloins are the star here. They’re juicy and cook quickly. All-purpose flour gives a good base layer for the crunch. Panko breadcrumbs provide extra crunch, making each bite satisfying. Buttermilk keeps the chicken moist and adds flavor.
Seasoning Essentials
– 1 teaspoon garlic powder
– 1 teaspoon onion powder
– 1 teaspoon smoked paprika
– ½ teaspoon cayenne pepper
These seasonings bring the chicken to life. Garlic and onion powder add a savory kick. Smoked paprika gives a hint of smokiness. Adjust the cayenne pepper to your liking for a bit of heat.
Additional Ingredients
– Vegetable oil
– Fresh parsley (for garnish)
Vegetable oil is necessary for frying. It helps create that crispy outer layer. Fresh parsley gives a pop of color and freshness. You can sprinkle it on top before serving for a nice look.
Step-by-Step Instructions
Prep the Chicken
– Rinse the chicken tenderloins under cold water.
– Dry them with paper towels.
– Season the chicken with salt and pepper.
First, rinsing the chicken helps remove any bacteria. After rinsing, drying the chicken is key. Moisture can make it hard to get a crispy coat. The salt and pepper add flavor right to the meat.
Set Up Your Breading Station
– Prepare flour mixture with all-purpose flour, garlic powder, onion powder, smoked paprika, cayenne pepper, salt, and pepper.
– Mix eggs and buttermilk in another bowl.
– Arrange panko breadcrumbs in a third bowl.
Having a breading station makes the process easy. The flour mixture adds a base layer of flavor. The egg and buttermilk mix helps the breadcrumbs stick. Panko breadcrumbs give that extra crunch everyone loves.
Bread the Chicken
– Coat each tender with the flour mixture, shaking off excess.
– Dip the chicken in the egg mixture, letting extra drip off.
– Press each tender into the panko breadcrumbs.
Make sure each chicken piece is well-coated. This ensures a nice, even crunch. Pressing the chicken into the breadcrumbs helps them stick better.
Fry the Chicken
– Heat vegetable oil in a large skillet to about ½ inch deep.
– Fry the chicken in batches, avoiding overcrowding.
– Cook for 4-5 minutes per side until golden brown. Check that the internal temperature reaches 165°F (75°C).
Heating the oil properly is crucial. Too cold oil will make the chicken greasy. Frying in batches keeps the temperature steady. This way, you get perfect, crispy tenders every time.
Drain and Serve
– Carefully remove the chicken from the skillet and place on paper towels.
– Garnish with chopped parsley if desired.
Letting the chicken drain helps keep it crispy. The parsley adds a nice touch and a pop of color.
Tips & Tricks
Achieving Optimal Crispiness
To get that perfect crunch, follow these tips:
– Temperature Control: Heat your oil to the right temperature. Use medium-high heat. If the oil is too cool, the chicken will soak up oil. If it’s too hot, the outside will burn before the inside cooks.
– Avoid Overcrowding the Pan: Cook the chicken in small batches. If you crowd the pan, the temperature drops. This leads to soggy tenders instead of crispy ones.
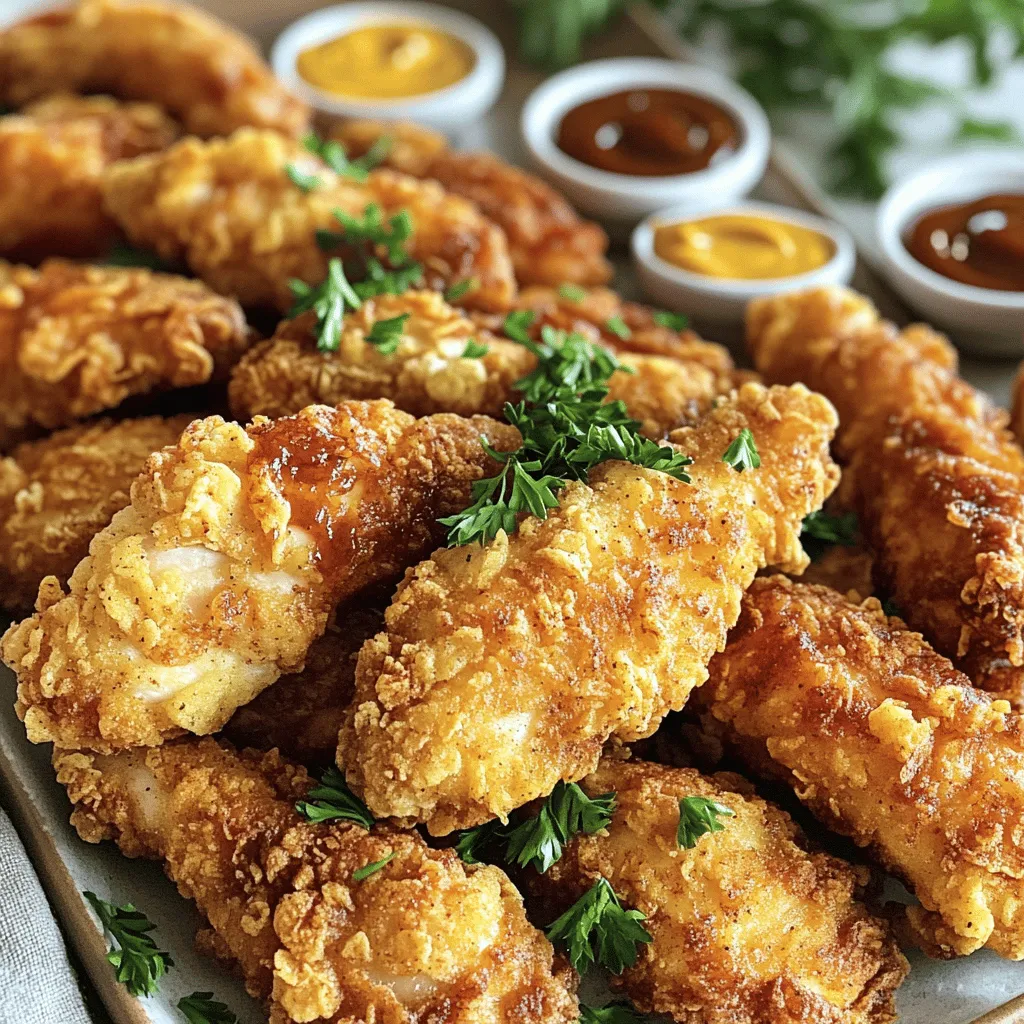
Best Dipping Sauces
Dipping sauces can elevate your chicken tenders to the next level. Here are my favorite options:
– Honey Mustard: Sweet and tangy, this sauce pairs well with crispy chicken.
– Ranch Dressing: Creamy ranch is a classic choice. It adds a cool contrast to the hot tenders.
– Barbecue Sauce: Smoky and sweet, barbecue sauce adds a bold flavor.
Presentation Ideas
Make your crispy chicken tenders look as good as they taste:
– Platter Arrangement: Arrange the tenders on a large platter. This makes them the star of your meal.
– Use of Fresh Herbs: Fresh parsley adds color and vibrancy. Sprinkle it on top for a beautiful finish.
Variations
Spicy Chicken Tenders
Want a kick? Adjust the spice level by adding more cayenne pepper. Start with one teaspoon. If you like it hotter, add more until it’s perfect for you. You can also mix in your favorite hot sauce into the egg mixture. This extra step gives a nice flavor boost. Try sriracha or Frank’s RedHot for a tangy twist.
Baked Version
If you prefer baking, I have a simple method. Preheat your oven to 425°F (220°C). After breading your chicken, place them on a baking sheet lined with parchment paper. Spray the tenders lightly with cooking oil to help them crisp up. Bake for 20-25 minutes. Flip them halfway through for even cooking. Check that they reach an internal temperature of 165°F (75°C) for safety.
Gluten-Free Options
For those needing gluten-free choices, you can easily switch ingredients. Use gluten-free breadcrumbs like crushed rice or cornflakes. For the flour, substitute with almond flour or a gluten-free blend. These options keep the dish tasty and crisp. Always check labels to ensure they meet your diet needs. This way, everyone can enjoy crispy chicken tenders.
Storage Info
Refrigeration
How do you store leftovers? After enjoying your crispy chicken tenders, let them cool down. Place them in an airtight container. This helps keep them fresh. You can also wrap them tightly with plastic wrap.
What is the shelf life in the fridge? Properly stored chicken tenders last about 3 to 4 days in the fridge. Make sure to check for any signs of spoilage before eating.
Freezing
How do you freeze chicken tenders? To freeze, first let the cooked chicken tenders cool completely. Place them in a single layer on a baking sheet. Freeze them for about 1 hour. Once frozen, transfer them to a freezer-safe bag. This helps prevent them from sticking together.
What are the reheating tips? To reheat, bake the tenders in a preheated oven at 400°F (200°C) for about 15-20 minutes. This keeps them crispy. You can also use an air fryer for about 10 minutes at 375°F (190°C) for a quick and crispy result.
Best Practices for Freshness
Why should you store without sauces? Sauces can make the chicken soggy. Store the tenders plain and add sauces when you are ready to eat.
What are some tips for maintaining texture? To keep the tenders crispy, avoid stacking them. Place parchment paper between layers if needed. Reheat them in a way that allows air circulation, like the oven or air fryer.
FAQs
Can I make crispy chicken tenders ahead of time?
Yes, you can make crispy chicken tenders ahead of time.
– Cool Completely: Let them cool on a wire rack. This keeps them crispy.
– Store: Place the cooled tenders in an airtight container. Refrigerate for up to 3 days.
– Reheat: When ready to eat, reheat them in the oven at 375°F (190°C) for about 10-15 minutes. This helps restore their crispiness.
What can I substitute for buttermilk?
If you don’t have buttermilk, there are easy options for buttermilk alternatives:
– Milk and Vinegar: Use ½ cup of milk with 1 teaspoon of vinegar. Let it sit for 5 minutes.
– Milk and Yogurt: Mix ½ cup of yogurt with ¼ cup of milk to thin it out.
– Milk and Sour Cream: Blend ½ cup of sour cream with ¼ cup of milk.
These substitutes work well and keep your chicken tender and moist.
How long do I fry the chicken tenders?
Fry the chicken tenders for about 4-5 minutes on each side. This gives them a golden brown color and a crispy texture. Always check the chicken after frying to ensure it is cooked through.
What temperature should chicken tenders be cooked to?
Chicken tenders should reach an internal temperature of 165°F (75°C). This ensures they are safe to eat. Use a meat thermometer for the best results. Checking the temperature avoids any risk of undercooking.
This post covered the essential ingredients for crispy chicken tenders, including chicken, flour, and noteworthy spices. You learned the step-by-step process to prep, bread, and fry, ensuring the perfect crunch. I shared tips for serving and storing, plus variations that cater to different diets.
In the end, you can create a tasty dish that delights everyone. With practice, your chicken tenders will shine at any meal. Enjoy cooking!