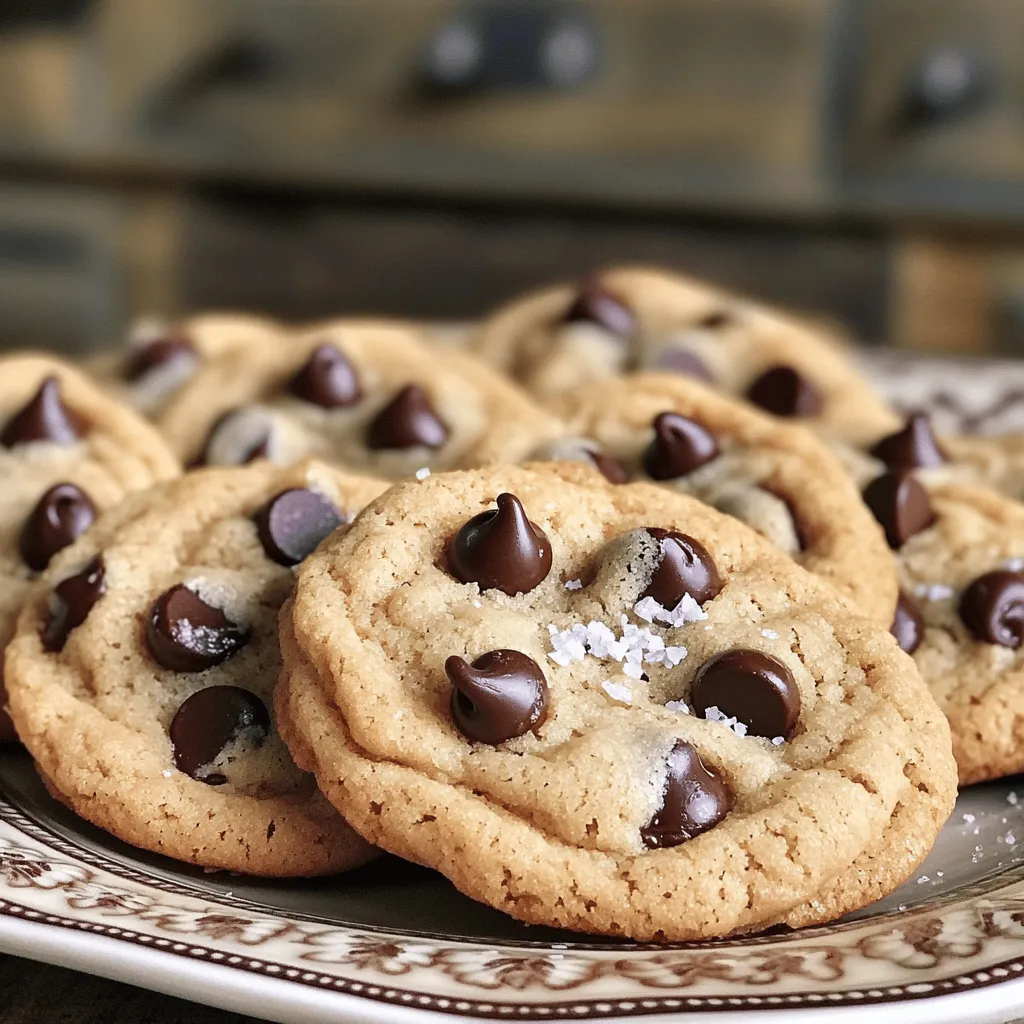
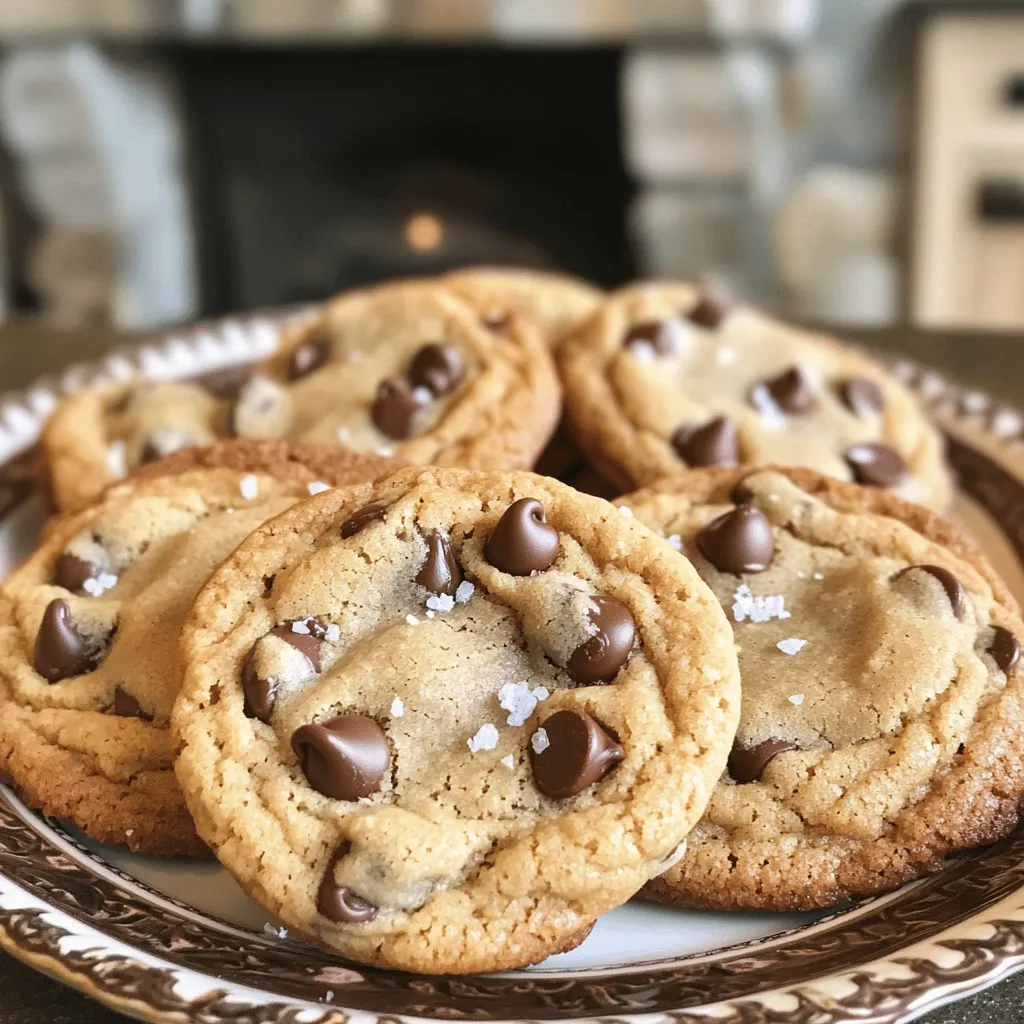
Are you ready to bake the best chocolate chip cookies ever? With this easy, quick recipe, you’ll create warm, gooey cookies that are perfect for any occasion. I promise, even if you’re a beginner, you’ll have delicious results in no time. Whether you’re craving a sweet treat or want to impress friends, these cookies will hit the spot. Let’s get started on this cookie adventure!
Ingredients
Gather these simple ingredients to make easy chocolate chip cookies:
– 1 cup unsalted butter, softened
– 3/4 cup granulated sugar
– 3/4 cup brown sugar
– 1 teaspoon vanilla extract
– 2 large eggs
– 2 1/4 cups all-purpose flour
– 1 teaspoon baking soda
– 1/2 teaspoon fine sea salt
– 2 cups semi-sweet chocolate chips
– 1/2 cup chopped walnuts (optional)
Each ingredient plays a key role. The butter gives richness, while sugars add sweetness. Vanilla brings a warm flavor that enhances the chocolate. Eggs bind the mix, giving it structure.
Flour creates the cookie’s body, and baking soda helps it rise. Sea salt balances the sweetness and boosts flavor. Finally, chocolate chips provide that classic touch.
You can add walnuts for a nice crunch. I love the mix of textures in each bite!Enjoy baking!
Step-by-Step Instructions
Preparation Overview
1. Start by preheating your oven to 375°F (190°C). This way, your cookies bake evenly.
2. Line two baking sheets with parchment paper. This helps the cookies not to stick.
Mixing Wet Ingredients
1. In a large bowl, cream together the softened butter, granulated sugar, and brown sugar. Use an electric mixer for about 2-3 minutes until smooth.
2. Next, add the eggs one at a time along with the vanilla extract. Mix well after adding each egg until fluffy.
Combining Dry Ingredients
1. In a separate bowl, whisk together the all-purpose flour, baking soda, and fine sea salt. Make sure it’s mixed well.
2. Gradually add the dry mix to the wet mix. Stir gently until just combined. The dough should remain a bit lumpy.
Forming and Baking Cookies
1. Use a cookie scoop or two tablespoons to portion the dough onto the baking sheets. Leave about 2 inches apart for spreading.
2. Bake in the preheated oven for 9-11 minutes. Look for golden edges and soft centers.
Cooling and Serving
1. Once baked, let the cookies cool on the baking sheet for 5 minutes. Then transfer them to a wire rack for complete cooling.
2. For serving, place the warm cookies on a plate. Pair them with cold milk or sprinkle some flaky sea salt for a gourmet twist. Enjoy!
Tips & Tricks
Perfecting Cookie Texture
To make your cookies chewy, adjust the bake time. Bake them for 9 minutes for softer centers. If you want a crunchier cookie, bake for up to 11 minutes. Watch closely, as ovens vary.
Do not overmix your dough. Mixing too much makes your cookies tough. Stir gently until the flour is just combined. A slightly lumpy dough means success!
Ingredient Substitutions
If you need a butter alternative, use coconut oil or margarine. These will give you a different flavor but still keep the cookies soft. You can also try using applesauce for a lower-fat option.
For sugar variations, you can use coconut sugar or honey. These will change the taste and color, but they work well. Just remember to adjust other wet ingredients if you swap to honey.
Troubleshooting Common Issues
What if your cookies turn out too flat? This usually happens if your butter is too soft or warm. Try chilling the dough for 30 minutes before baking. That will help them hold their shape.
If your cookies are dry, it means they baked too long or had too much flour. Check your measurements next time. You can also add a little milk or melted butter to the dough for extra moisture.
Variations
Flavor Enhancements
You can easily change your cookies with different flavors. Adding nuts or dried fruits can bring a fun twist. I love using chopped walnuts for a nice crunch. Try adding 1/2 cup of dried cranberries or raisins for a sweet touch. You can also play with chocolate types. Swap semi-sweet chocolate chips for milk chocolate or dark chocolate. Each type gives a new flavor and texture.
Dietary Alternatives
If you need gluten-free cookies, use gluten-free flour. Brands like almond flour or coconut flour work well. You might need to adjust the liquid in the recipe. For those who want vegan cookies, replace butter with coconut oil and eggs with flaxseed meal. Mix 1 tablespoon of flaxseed with 2.5 tablespoons of water for each egg. This keeps the cookies moist and tasty.
Themed Cookies
Make your cookies special for holidays! Add fun sprinkles or use cookie cutters for shapes. You can even stuff them with candy or cream for cookie sandwiches. Try peanut butter or marshmallow filling for a unique treat. These themed ideas make your cookies stand out at any gathering.
Storage Info
Best Storage Practices
To keep your cookies fresh, place them in an airtight container. This helps lock in moisture. You can stack the cookies in layers, with parchment paper in between. This way, they won’t stick together. Make sure to store them in a cool, dry place away from sunlight. Too much heat can make them go stale.
Freezing Cookies
You can freeze unbaked dough for later use. First, scoop the dough onto a baking sheet. Freeze the scoops for about an hour, until firm. Then, transfer them to a freezer bag. Write the date on the bag so you know when you made it.
To freeze baked cookies, let them cool completely. Place them in an airtight container or a freezer bag. They can last for up to three months. When you want to eat them, thaw in the fridge overnight or at room temperature for a few hours.
Shelf Life
Cookies last about one week at room temperature. Keep them in an airtight container for the best results. If you store them in the fridge, they can last a little longer, around two weeks. But, the fridge can dry them out. So, I recommend room temperature for the best taste.
FAQs
What makes cookies chewy vs. crispy?
The texture of cookies comes from the ingredients. Chewy cookies use more brown sugar and butter. They also have less flour. Crispy cookies often use more white sugar and flour. The baking time affects how they turn out, too. For chewy cookies, bake them just until the edges are golden. For crisp cookies, let them bake a bit longer.
Can I make the dough ahead of time?
Yes, you can make cookie dough ahead of time. This saves time for later baking. Simply wrap the dough tightly in plastic wrap. You can store it in the fridge for up to three days. If you want to keep it longer, freeze it. Just make sure to thaw it in the fridge before baking.
How do I know when the cookies are done?
Look for a few key signs. The edges should be golden brown. The centers should look soft but not raw. If you gently press the center, it should spring back. You can also check the bottom of the cookies. They should be lightly browned.
Can I use chocolate chips other than semi-sweet?
Absolutely! You can use milk chocolate or dark chocolate chips. Each type gives a different taste. Milk chocolate is sweeter, while dark chocolate has a rich flavor. You can even mix different types for fun.
What’s the best way to keep cookies soft?
To keep cookies soft, store them in an airtight container. You can add a slice of bread to help keep moisture in. This trick works well! If you want to freeze cookies, layer them with parchment paper. This keeps them from sticking together. Enjoy your delicious cookies!
This guide covers all you need to bake delicious cookies. We reviewed ingredients, steps, and tips for perfect texture. You learned about storage and variations, plus solutions for common problems. With these insights, you can bake cookies with confidence. Enjoy experimenting and sharing your treats! Each batch will taste better as you practice. Happy baking!