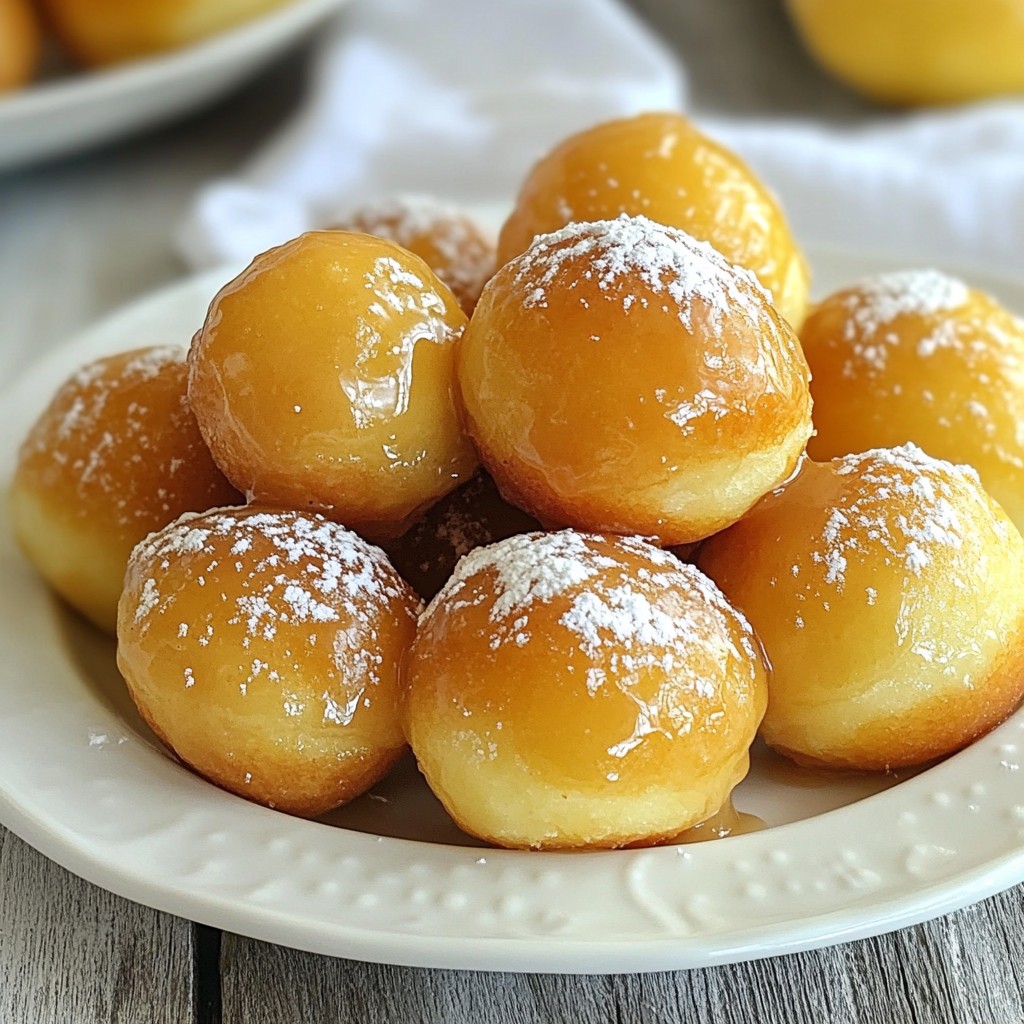
Sweet, fluffy, and oh-so-tempting, maple glazed donut holes are a must-try! If you love a warm, homemade treat, you’re in for a delight. In this post, I’ll guide you through simple steps to make these irresistible bites. With tips for the perfect glaze and tasty variations, you’ll impress everyone with your baking skills. Let’s dive in and whip up a batch of these yummy donut holes!
Why I Love This Recipe
- Deliciously Sweet: The maple glaze adds a perfect touch of sweetness that complements the fluffy donut holes beautifully.
- Easy to Make: This recipe is straightforward and quick, making it perfect for both beginners and experienced bakers.
- Perfect for Any Occasion: Whether it's a breakfast treat or a dessert, these donut holes are versatile and loved by all.
- Great for Sharing: With 24 donut holes, there’s plenty to share with family and friends, making them ideal for gatherings.
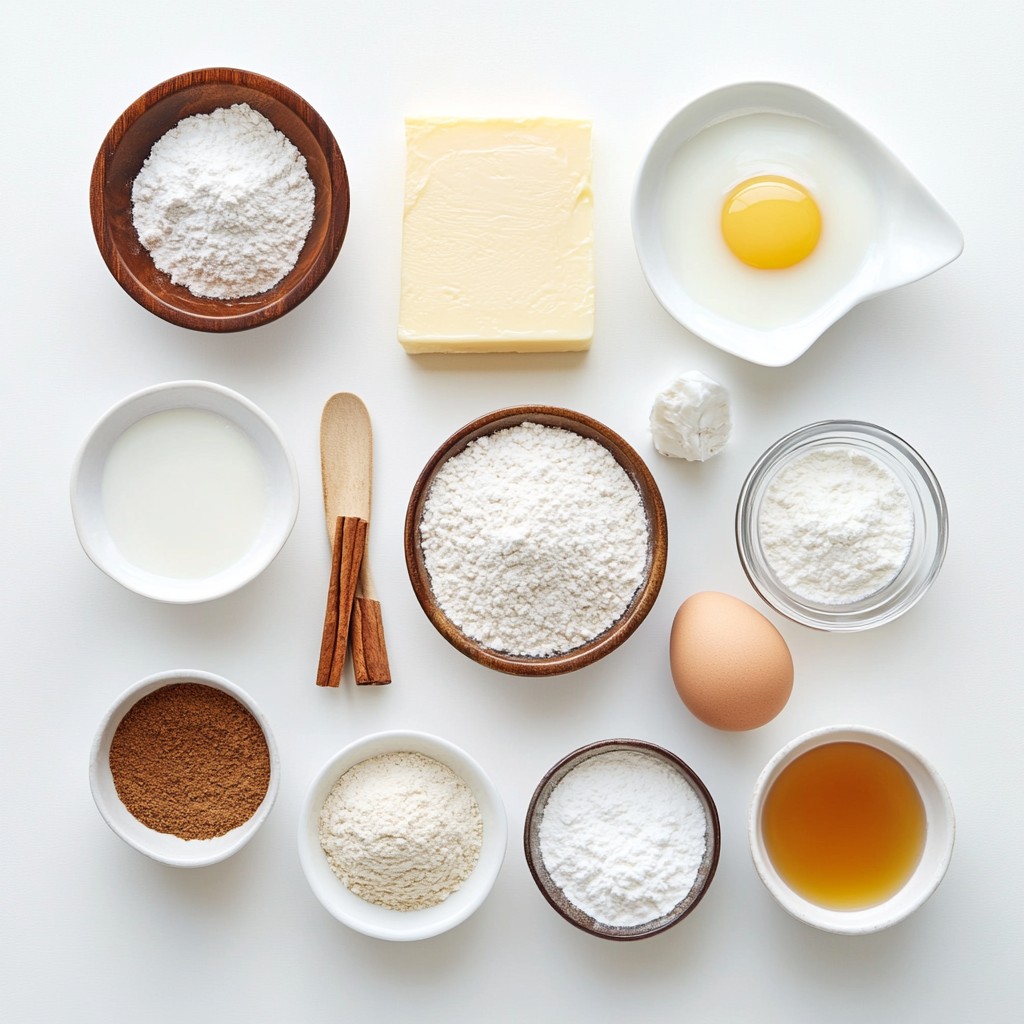
Ingredients
List of Ingredients for Maple Glazed Donut Holes
- 1 cup all-purpose flour
- 1/4 cup granulated sugar
- 1 teaspoon baking powder
- 1/2 teaspoon baking soda
- 1/4 teaspoon salt
- 1/4 teaspoon ground cinnamon
- 1/4 teaspoon ground nutmeg
- 1/2 cup buttermilk
- 1 large egg
- 2 tablespoons melted butter
- 1/4 teaspoon vanilla extract
For the Maple Glaze:
- 1 cup powdered sugar
- 2 tablespoons pure maple syrup
- 1-2 tablespoons milk (adjust as needed for desired consistency)
Key Ingredients Explained
Each ingredient plays a key role in the flavor and texture of these donut holes.
- All-purpose flour gives the donut holes structure.
- Granulated sugar adds sweetness and helps with browning.
- Baking powder and baking soda work together to make the donut holes rise.
- Salt enhances the overall flavor.
- Ground cinnamon and nutmeg add warm, cozy spices.
- Buttermilk keeps the donut holes moist and fluffy.
- Egg binds the mix and adds richness.
- Melted butter brings in a nice flavor and moistness.
- Vanilla extract adds a lovely aroma and depth.
- Powdered sugar and maple syrup create a sweet and sticky glaze.
Best Alternatives and Substitutions
If you need to swap ingredients, here are some ideas:
- Flour: Use whole wheat flour for a nuttier taste.
- Sugar: Coconut sugar can replace granulated sugar for a healthier option.
- Buttermilk: Mix milk with a splash of vinegar for a quick substitute.
- Egg: Use a flax egg (1 tablespoon ground flaxseed + 3 tablespoons water) for a vegan option.
- Maple Syrup: Honey or agave can work if you run out of maple syrup.
These swaps keep the spirit of the recipe while catering to different needs. Enjoy your baking!
Step-by-Step Instructions
Prepping Your Ingredients
First, gather your ingredients. You will need:
- 1 cup all-purpose flour
- 1/4 cup granulated sugar
- 1 teaspoon baking powder
- 1/2 teaspoon baking soda
- 1/4 teaspoon salt
- 1/4 teaspoon ground cinnamon
- 1/4 teaspoon ground nutmeg
- 1/2 cup buttermilk
- 1 large egg
- 2 tablespoons melted butter
- 1/4 teaspoon vanilla extract
For the glaze, have on hand:
- 1 cup powdered sugar
- 2 tablespoons pure maple syrup
- 1-2 tablespoons milk
Preheat your oven to 350°F (175°C). Also, grease a mini muffin tin. This step helps the donut holes pop out easily later.
Mixing the Dry Ingredients
In a large bowl, mix the dry ingredients. Combine the flour, sugar, baking powder, baking soda, salt, cinnamon, and nutmeg. Use a whisk to blend well. Make sure there are no lumps. This mix gives your donut holes a great flavor.
Combining Wet Ingredients and Baking
In another bowl, combine the wet ingredients. Whisk together the buttermilk, egg, melted butter, and vanilla extract. Mix until smooth. Then, slowly pour the wet mix into the dry mix. Stir gently until just combined. Avoid over-mixing to keep your donut holes light and fluffy.
Now, fill each mini muffin cup about three-quarters full with the batter. This gives them room to rise. Bake in the oven for 10-12 minutes. They are done when the tops are golden and a toothpick comes out clean.
Making the Maple Glaze
While the donut holes bake, prepare the glaze. In a medium bowl, whisk together the powdered sugar and maple syrup. Gradually add milk, one tablespoon at a time. Keep mixing until the glaze is smooth and pourable. This glaze adds that sweet maple flavor we love.
Glazing and Cooling the Donut Holes
After baking, let the donut holes cool for about 5 minutes in the tin. Then, carefully dip each donut hole into the warm glaze. Allow any extra glaze to drip off. Place them on a wire rack set over a baking sheet. This catches any drips. Let the glaze set for about 10 minutes before serving. Enjoy the sweet, warm goodness!
Tips & Tricks
Achieving the Perfect Glaze Consistency
To get a great glaze, combine powdered sugar and maple syrup. Start by whisking them together in a bowl. Then, slowly add milk. Use one tablespoon at a time. Keep adding until you reach a smooth and pourable glaze. If it’s too thick, add more milk. If it’s too thin, add a little more sugar. The right consistency makes your donut holes shine!
How to Keep Donut Holes Fluffy
Fluffy donut holes come from careful mixing. When you combine wet and dry ingredients, mix gently. Don’t over-mix. Over-mixing makes them tough. Also, fill the muffin tin only three-quarters full. This allows room for rising while baking. Bake them until golden brown. A toothpick should come out clean when they are done. This way, you get light and fluffy treats every time!
Storage and Reheating Tips
To store your donut holes, place them in an airtight container. Keep them at room temperature for up to two days. If you want to keep them longer, freeze them. Just put them in a freezer bag. When you want to eat them, let them thaw at room temperature. To reheat, pop them in the microwave for about 10 seconds. This will warm them up without drying them out. Enjoy your sweet treats whenever you want!
Pro Tips
- Use Fresh Spices: Freshly ground spices, like nutmeg and cinnamon, will elevate the flavor of your donut holes. Consider grinding whole spices for the best results.
- Don’t Overmix: Gently fold the wet and dry ingredients together until just combined. Overmixing can result in dense donut holes instead of fluffy ones.
- Adjust Glaze Consistency: When making the maple glaze, adjust the milk gradually. A thicker glaze will cling better, while a thinner glaze will create a nice drippy effect.
- Store Properly: Keep any leftover donut holes in an airtight container at room temperature. For longer storage, freeze them and glaze just before serving.
Variations
Flavor Variations
You can change the flavor of these donut holes in fun ways. Try adding cocoa powder for a chocolate twist. Just replace two tablespoons of flour with cocoa. Vanilla is another great choice. Use vanilla bean paste instead of extract for a richer taste. If you want a fruity flavor, fold in small pieces of fresh fruit, like blueberries or raspberries, right before baking. These small changes make each batch special.
Healthier Alternatives
Want a healthier option? You can make these donut holes gluten-free. Just swap in a gluten-free flour blend for the all-purpose flour. If you want to cut sugar, use a sugar substitute like stevia or monk fruit. You can also add applesauce to replace some butter. This keeps them moist while reducing fat. These tweaks let you enjoy donut holes without the guilt.
Serving Suggestions and Pairings
How you serve these donut holes can make them even better. Pair them with coffee or tea for a cozy treat. For a fun twist, serve with a scoop of ice cream as a dessert. You can also drizzle extra maple syrup over the top or sprinkle some cinnamon sugar for extra flavor. For a party, arrange them on a platter with fresh fruit. This way, everyone can enjoy a sweet bite!
Storage Info
Best Practices for Storing Donut Holes
To keep your donut holes fresh, store them in an airtight container. This will help them stay soft and tasty. You can place a paper towel at the bottom of the container. This helps absorb extra moisture. Avoid stacking them too high to prevent squishing.
How Long Do They Last?
When stored properly, donut holes last about 2-3 days at room temperature. If you put them in the fridge, they can last up to a week. Just remember, they may lose some of their fluffiness if chilled.
Freezing Options
Freezing is a great way to save donut holes for later. Let them cool completely before freezing. Place them in a single layer on a baking sheet first. Once frozen, transfer them to a freezer-safe bag. They can last up to 3 months in the freezer. When you want to enjoy them, thaw them at room temperature. For a warm treat, pop them in the oven for a few minutes.
FAQs
Can I use regular milk instead of buttermilk?
Yes, you can use regular milk. To mimic buttermilk, add a tablespoon of vinegar or lemon juice to the milk. Let it sit for five minutes before using. This trick helps make your donut holes tender.
How do I know when the donut holes are done baking?
Your donut holes are done when they turn a light golden color. Insert a toothpick in the center. If it comes out clean, your donut holes are ready. Keep an eye on them to avoid overbaking.
What is the best way to serve maple glazed donut holes?
Serve your donut holes warm for the best taste. Arrange them on a pretty plate. You can drizzle extra maple syrup on top for added sweetness. A light dusting of powdered sugar will make them look even better.
Are there vegan options for this recipe?
Yes, you can make vegan donut holes! Replace the egg with a flax egg (1 tablespoon ground flaxseed mixed with 2.5 tablespoons water). Use non-dairy milk instead of buttermilk. Substitute melted butter with coconut oil or vegan butter. Enjoy your sweet treat!
You now have all you need to make delicious maple glazed donut holes. We discussed ingredients, step-by-step instructions, and tips for the best results. You can even explore flavor variations to make them unique. Remember to store them correctly to enjoy your treats longer. Keep this guide handy for future baking sessions. Enjoy your sweet creations and share them with friends and family!