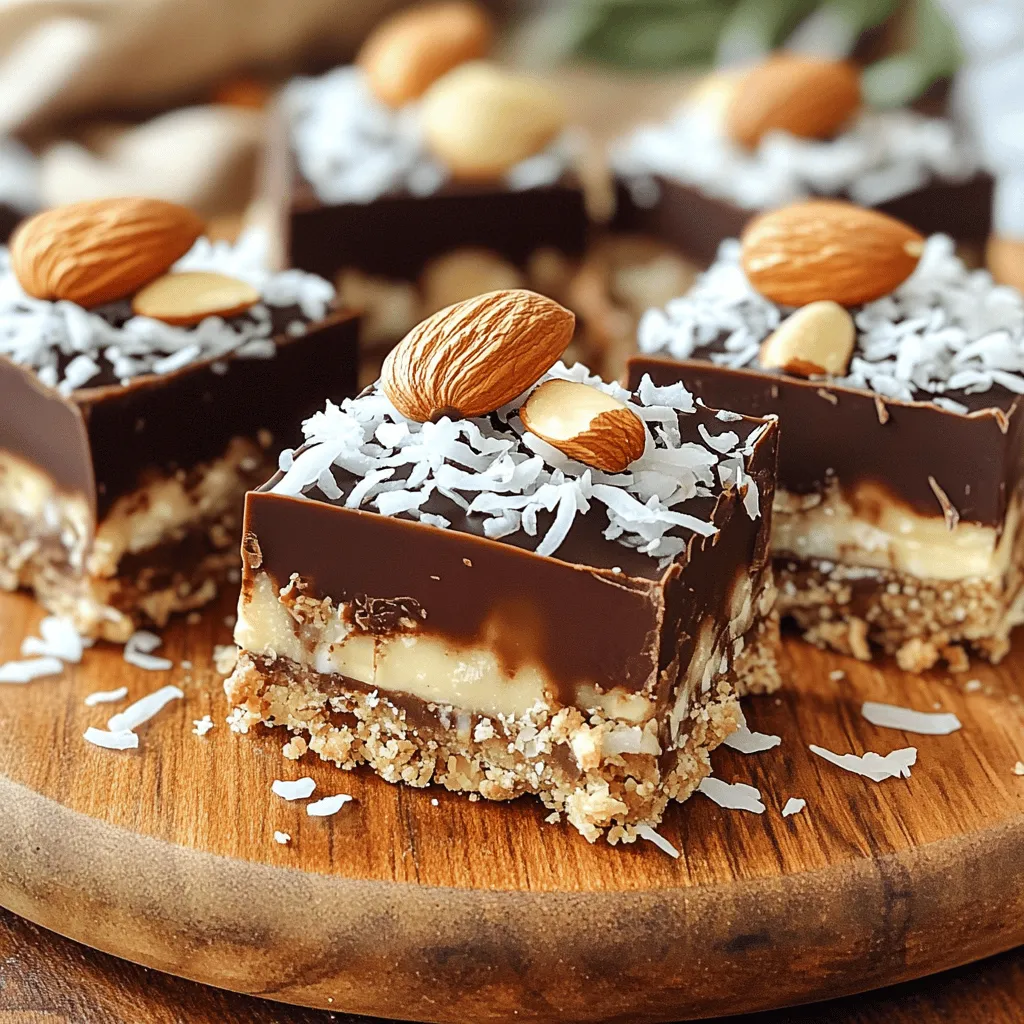
Are you craving a sweet treat without the hassle of baking? Look no further! My No Bake Almond Joy Bars are simple, tasty, and full of flavor. With just a few easy ingredients like almond flour and dark chocolate, you’ll create a delightful dessert in no time. Perfect for any occasion, these bars will satisfy your sweet tooth while being easy to make. Let’s dive into the recipe and get started!
Ingredients
To create your No Bake Almond Joy Bars, you’ll need a few simple ingredients. Each one adds a unique taste and texture. Here’s what you need:
– 1 cup almond flour
– 1 cup shredded unsweetened coconut
– 1/2 cup creamy almond butter
– 1/4 cup pure maple syrup
– 1 teaspoon vanilla extract
– 1/2 teaspoon sea salt
– 1 cup dark chocolate chips (dairy-free if preferred)
– 1/4 cup whole almonds (for topping)
These ingredients blend together to form a tasty, chewy treat. Almond flour gives a nutty taste while coconut adds sweetness. The almond butter holds it all together. Maple syrup brings in natural sweetness, and the vanilla adds a warm flavor. Sea salt balances it all out.
The dark chocolate on top makes these bars rich and satisfying. Whole almonds give a nice crunch and a beautiful look.
Gather these ingredients, and you’re set for a delicious treat!
Step-by-Step Instructions
Preparation Steps
1. Combine dry and wet ingredients in a mixing bowl: Start by adding the almond flour, shredded coconut, creamy almond butter, pure maple syrup, vanilla extract, and sea salt into a large mixing bowl. Use your hands or a spatula to mix these ingredients well. You want them to form a sticky dough that holds together.
2. Press the mixture into a lined baking dish: Next, take an 8×8 inch baking dish and line it with parchment paper. Leave some paper hanging over the edges. This helps you lift the bars out later. Then, press the dough firmly into the bottom of the dish. Use your spatula to smooth the top so it looks nice and even.
3. Melt chocolate for topping: In a small microwave-safe bowl, place your dark chocolate chips. Heat the chocolate in the microwave in 20-second bursts. After each burst, stir the chocolate until it is smooth. Be careful not to heat it too much, or it can burn.
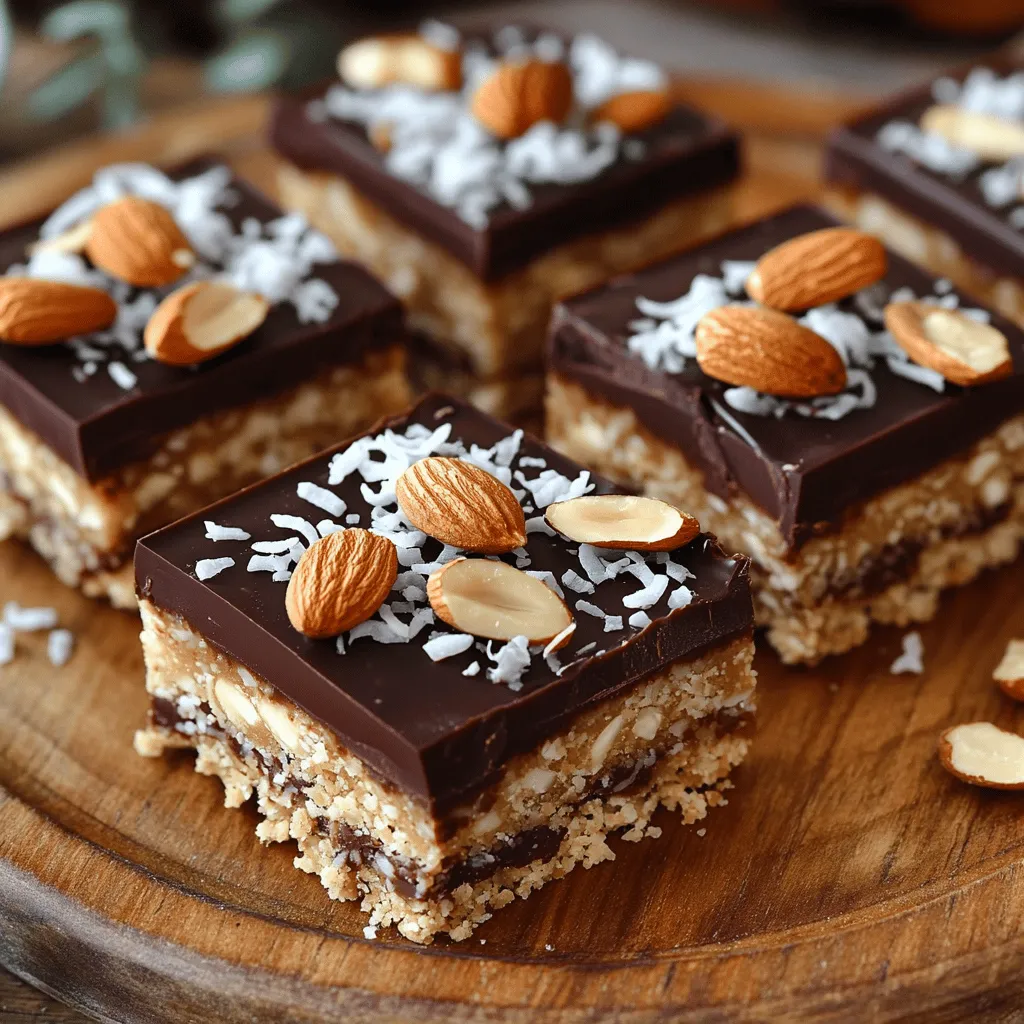
4. Spread melted chocolate and add almonds: Once your chocolate is melted, carefully pour it over the pressed base in the baking dish. Use your spatula to spread the chocolate evenly across the top. Then, take the whole almonds and gently press them into the chocolate layer. Space them out nicely, so they look great on top.
After you complete these steps, place the dish in the fridge for at least two hours. This lets the bars chill and the chocolate harden. Once set, lift the bars out using the parchment paper. Cut them into squares or rectangles for serving.
Tips & Tricks
Success Tips for No Bake Almond Joy Bars
Tips for working with almond butter
When using almond butter, make sure it is smooth. A creamy almond butter mixes better with other ingredients. If it is too thick, warm it slightly in the microwave. This will help it blend well into the mix.
Best practices for melting chocolate
When you melt chocolate, do it slowly. Use a microwave-safe bowl, and heat in short bursts of 20 seconds. Stir the chocolate after each burst. This prevents the chocolate from burning. If you notice lumps, keep stirring until it is smooth.
How to achieve the right texture
To get the perfect texture, mix the dough until it is sticky but holds together. If it feels too dry, add a tiny bit of almond butter or maple syrup. Press the mixture firmly into the baking dish. This helps the bars hold their shape when cut.
Variations
When making No Bake Almond Joy Bars, you can switch things up with fun variations. Here are some creative alternatives to try:
– Using different nut butters: Instead of almond butter, use peanut butter or cashew butter. Each nut butter gives a unique flavor and texture. Peanut butter brings a salty touch, while cashew butter offers a creamier feel.
– Adding dried fruits or seeds: Mix in dried fruits like cranberries or raisins. You can also add seeds like chia or sunflower for crunch. These additions make the bars even tastier and add extra nutrients.
– Making it gluten-free or vegan: To keep these bars gluten-free, stick to almond flour and make sure your chocolate is dairy-free. For a vegan option, use maple syrup instead of honey. This way, everyone can enjoy these delicious treats.
Explore these variations to find your favorite twist on the classic recipe. You can create a new favorite in no time!
Storage Info
Storage Recommendations
To store uneaten bars, place them in an airtight container. This keeps them fresh and tasty. You can stack them carefully with parchment paper between layers to prevent sticking.
For the best containers, use glass or plastic containers that seal well. Avoid using cheap plastic wrap, as it may not keep air out. A good choice is a food-safe container with a tight lid.
The shelf life of these bars is about one week in the fridge. They will stay fresh longer if you freeze them. In the freezer, they last for up to three months. Just remember to wrap them well in plastic wrap before placing them in a freezer bag. This will help maintain their flavor and texture.
FAQs
Can I use regular flour instead of almond flour?
No, do not use regular flour. Almond flour gives a nutty flavor and a soft texture. It binds well with the other ingredients. Regular flour does not work the same way, and your bars may not hold together.
How do I know when the chocolate is melted perfectly?
Melt the chocolate in a microwave. Use 20-second intervals to heat it. Stir after each interval. The chocolate should be smooth and shiny. If it looks thick and clumpy, it is overheated.
Can I freeze No Bake Almond Joy Bars?
Yes, you can freeze the bars. Wrap them tightly in plastic wrap or foil. Place them in an airtight container. They stay fresh for up to three months. When you want to eat them, thaw them in the fridge for a few hours.
In this blog post, I shared how to make tasty No Bake Almond Joy Bars. We covered each ingredient needed, step-by-step instructions, and helpful tips for success. You learned about fun variations and how to store your bars properly. These bars are a simple treat for any time. I hope you enjoy making them as much as I do. Dive into your kitchen and create a yummy batch today. Your taste buds will thank you!