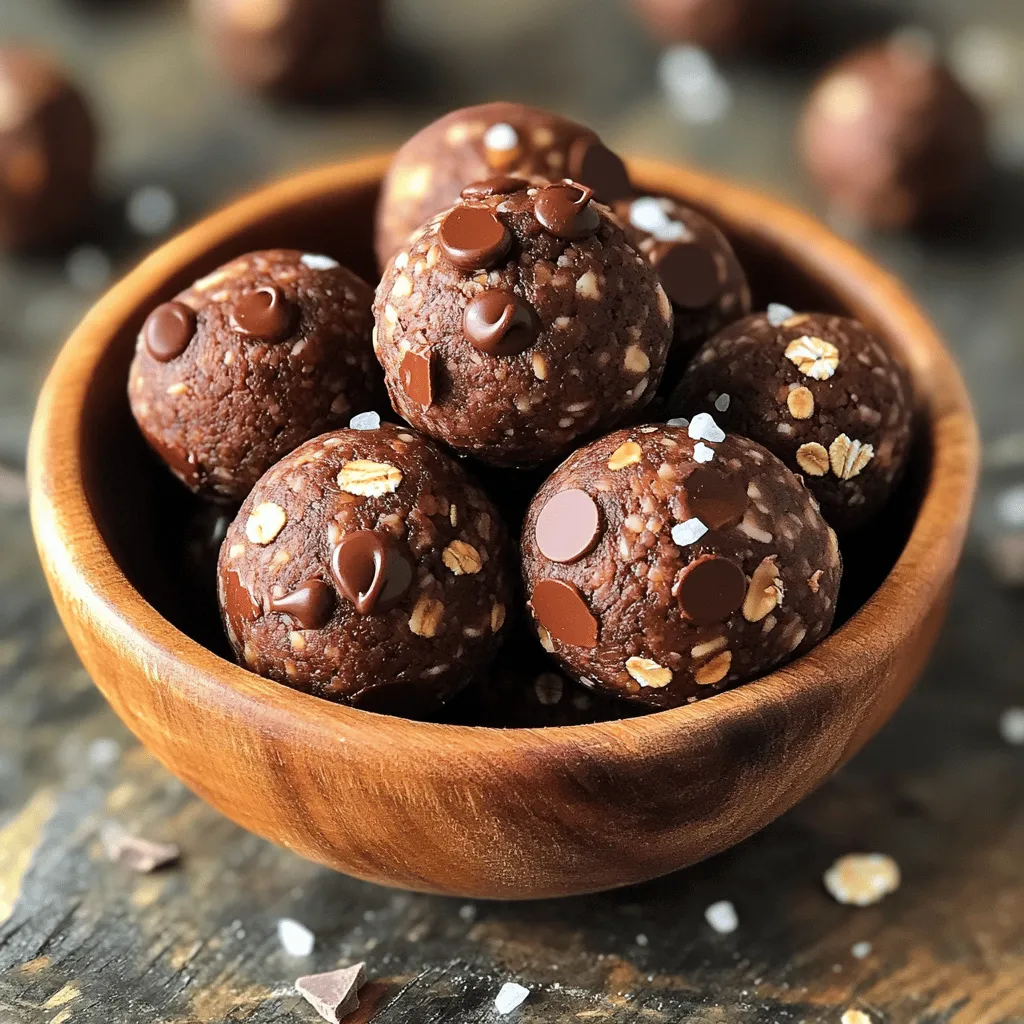
Looking for a quick, tasty snack that’s good for you? I’ve got just the thing! These No Bake Chocolate Energy Balls are not only easy to make, but they’re also packed with nutrients. With simple ingredients and no oven required, you can whip them up in minutes. Ready to boost your snacking game? Let’s dive into how to make these delicious energy bites!
Ingredients
Complete List of Ingredients
To make No Bake Chocolate Energy Balls, you need:
– 1 cup rolled oats
– 1/2 cup natural peanut butter (or almond butter for a nutty twist)
– 1/3 cup honey or maple syrup (for a touch of sweetness)
– 1/4 cup unsweetened cocoa powder (to satisfy your chocolate cravings)
– 1/2 cup ground flaxseed (for a healthy fiber boost)
– 1/4 cup dark chocolate chips (or cacao nibs for a rich flavor)
– 1 teaspoon vanilla extract (to enhance all flavors)
– A pinch of sea salt (to balance sweetness)
These ingredients come together to create a tasty and healthy snack.
Optional Ingredients for Variations
Feel free to play around with these optional ingredients:
– Coconut flakes for added texture
– Chopped nuts for a crunch
– Dried fruit like cranberries or raisins for sweetness
– Spices like cinnamon or nutmeg for warmth
These variations let you customize your energy balls to fit your taste.
Importance of Quality Ingredients
Using quality ingredients makes a big difference. Fresh oats and natural nut butter add flavor and nutrition. High-quality cocoa powder gives a deep chocolate taste. When you choose good ingredients, your energy balls will taste better and be healthier. Always pick what you can trust and enjoy.
Step-by-Step Instructions
Detailed Instructions for Preparation
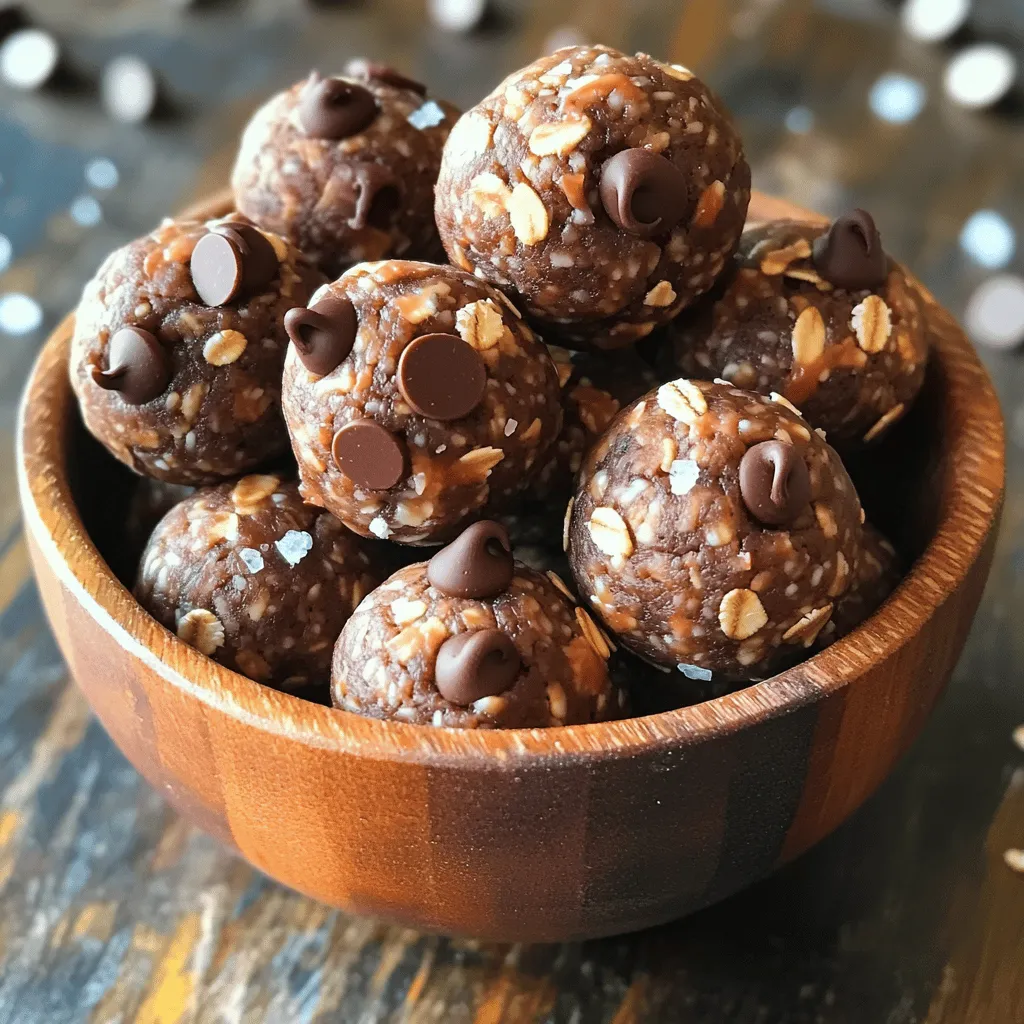
To make no-bake chocolate energy balls, first gather your ingredients. You will need rolled oats, peanut butter, honey, cocoa powder, ground flaxseed, dark chocolate chips, vanilla extract, and a pinch of sea salt.
1. In a large mixing bowl, combine all the ingredients. Use a spatula or your hands to mix well. Ensure everything blends together evenly.
2. The mixture should feel moist but hold its shape when pressed. If it is too crumbly, add a little more peanut butter or honey.
Tips for Mixing and Handling the Mixture
Mixing can get a bit sticky. To make it easier, use slightly wet hands. This will help you handle the mixture without it sticking too much.
– If you want a smoother texture, let the mixture sit for a few minutes after mixing. This can help the oats absorb some moisture.
– Always check that all ingredients are well combined. You want every bite to be flavorful and packed with goodness.
Chilling the Mixture for Optimal Texture
Once your mixture is ready, it’s time to chill. Cover the bowl with plastic wrap or a kitchen towel.
– Place it in the fridge for about 30 minutes. This step helps firm up the mixture, making it easier to roll into balls.
– After chilling, scoop out small portions with your hands. Aim for about one tablespoon per ball.
Chilling is key to getting the perfect texture for your energy balls. It keeps them from falling apart when you shape them.
Tips & Tricks
Best Practices for Rolling Energy Balls
Rolling energy balls is easy if you follow some simple tips. First, wet your hands slightly. This step stops the mixture from sticking to your fingers. Scoop out about a tablespoon of the mixture. Gently roll it into a ball shape. Keep the balls about one inch wide. This size makes them easy to eat and share.
Ideas to Enhance Flavor and Texture
You can mix up the flavors and textures in your energy balls. Try adding a few ingredients for extra taste. Here are some ideas:
– Chopped nuts: Almonds or walnuts add crunch.
– Dried fruit: Raisins or cranberries give a sweet touch.
– Spices: A pinch of cinnamon or nutmeg can warm up the flavor.
– Coconut: Shredded coconut adds chewiness and a tropical hint.
Feel free to experiment until you find your favorite combo!
Common Mistakes to Avoid
When making energy balls, avoid these common mistakes.
– Not chilling the mixture: Skipping the chill time makes the balls hard to shape.
– Too much liquid: Adding too much honey or nut butter can make the mix too wet. Adjust by adding more oats or flaxseed.
– Not mixing well: Make sure all ingredients blend well. This step ensures each ball has even flavor and texture.
These tips will help you create tasty, fun, and healthy snacks.Enjoy your cooking!
Variations
Alternative Nut Butters and Sweeteners
You can switch nut butters to change the flavor. Try almond butter for a nutty taste. Cashew butter adds creaminess. Sunflower seed butter is a great nut-free option. For sweeteners, honey works well, but maple syrup brings a rich flavor. Agave syrup is also a nice choice if you want something lighter.
Different Add-Ins for Flavor and Nutrition
Feel free to mix in extras to boost taste and health. Chia seeds add crunch and fiber. Dried fruits like cranberries or raisins give sweetness. You can also add coconut flakes for a tropical twist. For protein, consider adding protein powder. Each of these additions changes the energy balls’ taste and nutrition.
Seasonal or Themed Variations (e.g., Holiday Flavors)
You can make energy balls fit any season. For fall, add pumpkin spice and some pumpkin puree. During winter, mix in peppermint extract for a refreshing twist. You can even roll them in crushed candy canes for a festive touch. In summer, try adding fresh berries or a hint of citrus zest. Each season brings new flavors to enjoy.
Storage Info
How to Store for Maximum Freshness
To keep your no-bake chocolate energy balls fresh, store them in an airtight container. Place them in the fridge. They stay good for up to one week. If you want to keep them longer, freezing is a great option.
Freezing Tips for Long-Term Storage
For long-term storage, freeze the energy balls. First, place them in a single layer on a baking sheet. Freeze them for about 1-2 hours. Once solid, store them in a freezer-safe bag. They can last for up to three months. Just remember to label the bag with the date.
Serving Suggestions for Easy Snacking
These energy balls make an easy snack anytime. Grab a few before work or school. They are also great for post-workout fuel. You can serve them with a side of fruit or yogurt. For a fun twist, try pairing them with nuts or seeds.
FAQs
How long do no-bake chocolate energy balls last?
No-bake chocolate energy balls can last up to one week in the fridge. Store them in an airtight container to keep them fresh. If you freeze them, they can last for about three months. Just remember to thaw them in the fridge when you want to enjoy a tasty snack.
Can I substitute the peanut butter with a nut-free alternative?
Yes, you can easily swap peanut butter for a nut-free option. Sunflower seed butter works great and has a nice taste. You can also use soy nut butter if you prefer. Both options keep the energy balls creamy and delicious without any nuts.
What is the best way to make these energy balls vegan?
To make these energy balls vegan, replace honey with maple syrup or agave nectar. Both sweeteners add a lovely flavor and sweetness. Use a vegan chocolate option for the chips or cacao nibs to keep everything plant-based. This way, everyone can enjoy these tasty treats!
Now you know how to make tasty no-bake chocolate energy balls. We discussed the key ingredients and why quality matters. I shared step-by-step instructions with tips for mixing and chilling. You learned about common mistakes and how to add unique flavors. We also covered storage tips to keep your snacks fresh and delicious.
Remember, experimenting with variations can create fun new treats. Enjoy making and sharing these simple energy balls!