Are you craving a sweet treat that doesn’t require baking? You’re in luck! These No Bake Cookie Dough Bars are easy to make and taste amazing. With simple ingredients like almond flour, creamy peanut butter, and mini chocolate chips, you can whip up a tasty snack in no time. Perfect for sharing or indulging, let’s dive into this delightful recipe that everyone will love!
Ingredients
List of Essential Ingredients
Here are the key ingredients you need for no bake cookie dough bars:
– 1 cup almond flour
– 1/2 cup rolled oats
– 1/2 cup creamy peanut butter (or almond butter)
– 1/4 cup pure maple syrup
– 1 teaspoon vanilla extract
– 1/2 cup mini chocolate chips
– 1/4 teaspoon salt
– Optional: 1/4 cup crushed nuts or dried fruit
Each ingredient plays a role in making these bars tasty and healthy. Almond flour gives a nice texture and flavor. Rolled oats add chewiness. Creamy peanut butter binds everything together. Maple syrup sweetens without refined sugar. Vanilla extract adds a lovely aroma. Mini chocolate chips bring sweetness and fun bites. A pinch of salt balances the flavors. You can also add nuts or dried fruit for extra crunch and flavor.
Step-by-Step Instructions
Preparation Steps Overview
1. Combine dry ingredients: Start by taking a large mixing bowl. Add 1 cup of almond flour, 1/2 cup of rolled oats, and 1/4 teaspoon of salt. Stir these dry ingredients well. Make sure they blend together evenly.
2. Mix in wet ingredients: Next, add 1/2 cup of creamy peanut butter, 1/4 cup of pure maple syrup, and 1 teaspoon of vanilla extract to your dry mix. Use a spatula or spoon to mix everything. You want a thick and slightly moist dough.
3. Fold in chocolate chips and optional ingredients: Carefully fold in 1/2 cup of mini chocolate chips. If you like, add 1/4 cup of crushed nuts or dried fruit. Make sure all ingredients are well mixed.
Assembling the Cookie Dough Bars
1. Prepare the baking dish: Take an 8×8 inch baking dish. Line it with parchment paper. Let some paper hang over the edges. This will help you lift the bars out later.
2. Press the mixture into the dish: Spoon your cookie dough mixture into the dish. Use your hands or the back of a spatula to press it down. Make it even and compact.
Chilling and Serving
1. Refrigerate to set: Place your baking dish in the refrigerator. Let it chill for at least 1 hour. This will help the bars firm up.
2. Cut and serve: Once chilled, lift the bars out using the parchment paper. Transfer them to a cutting board. Slice them into squares or rectangles based on how big you want your servings. Enjoy your no-bake cookie dough bars!
Tips & Tricks
Ensuring Perfect Texture
Measuring ingredients is key to great bars. Use a kitchen scale or measuring cups. Accurate amounts make a big difference.
To get the right dough consistency, mix dry and wet ingredients well. You want a thick dough that is slightly moist. If it feels too crumbly, add a splash of maple syrup or a bit more nut butter.
Customization Suggestions
You can swap ingredients to meet your needs. For nut allergies, try sunflower seed butter instead of peanut butter. For a gluten-free option, stick with almond flour.
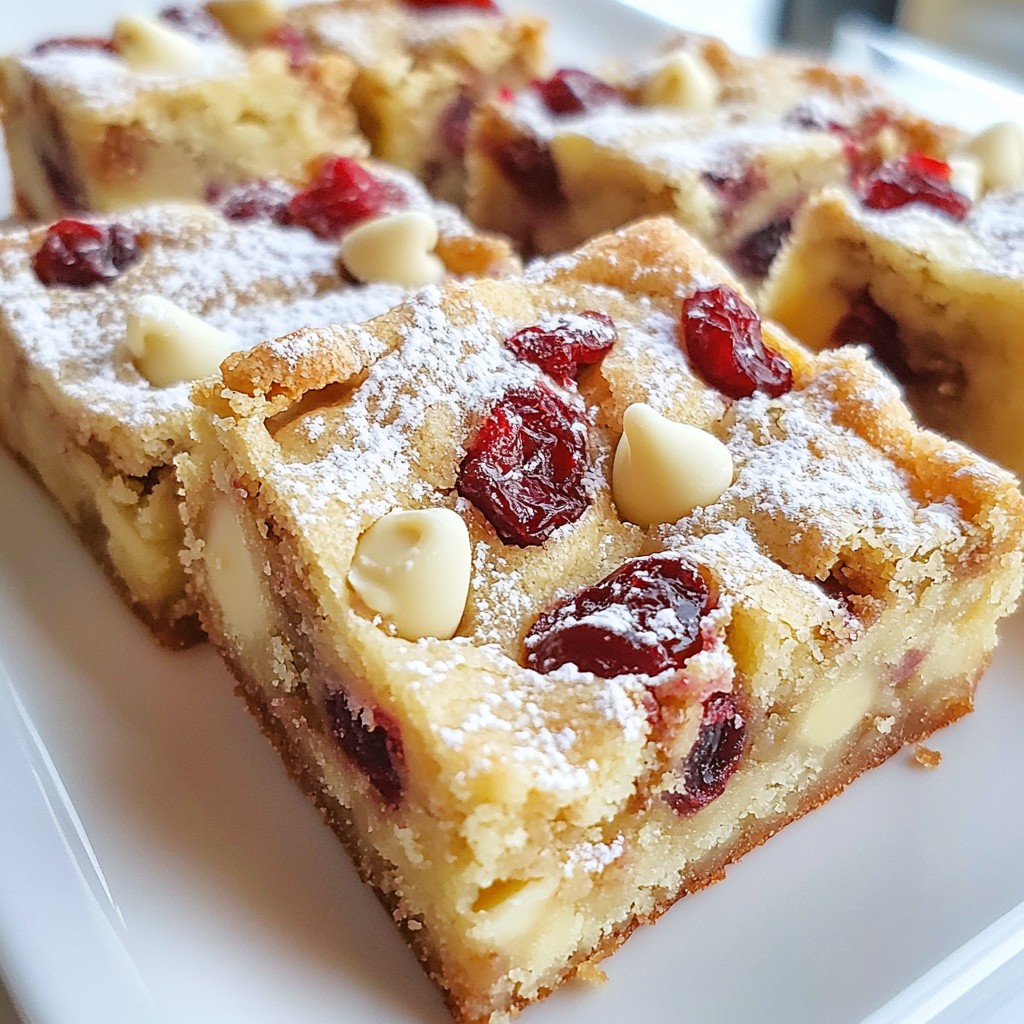
Explore flavor variations, too! Add a splash of almond extract for a sweet twist. You can also mix in dried fruit like cranberries or chopped nuts for extra flavor.
Troubleshooting Common Issues
If the mixture is too dry, add a little more nut butter or syrup. Mix again until it comes together.
If the mixture is too wet, add more almond flour or oats. This will help firm it up.
To ensure the bars hold together, press the dough firmly into the dish. Chill them well before slicing. Enjoy your no-bake cookie dough bars!

Variations
Flavor Combinations
You can mix up your no-bake cookie dough bars in many fun ways. Here are a few combinations to try:
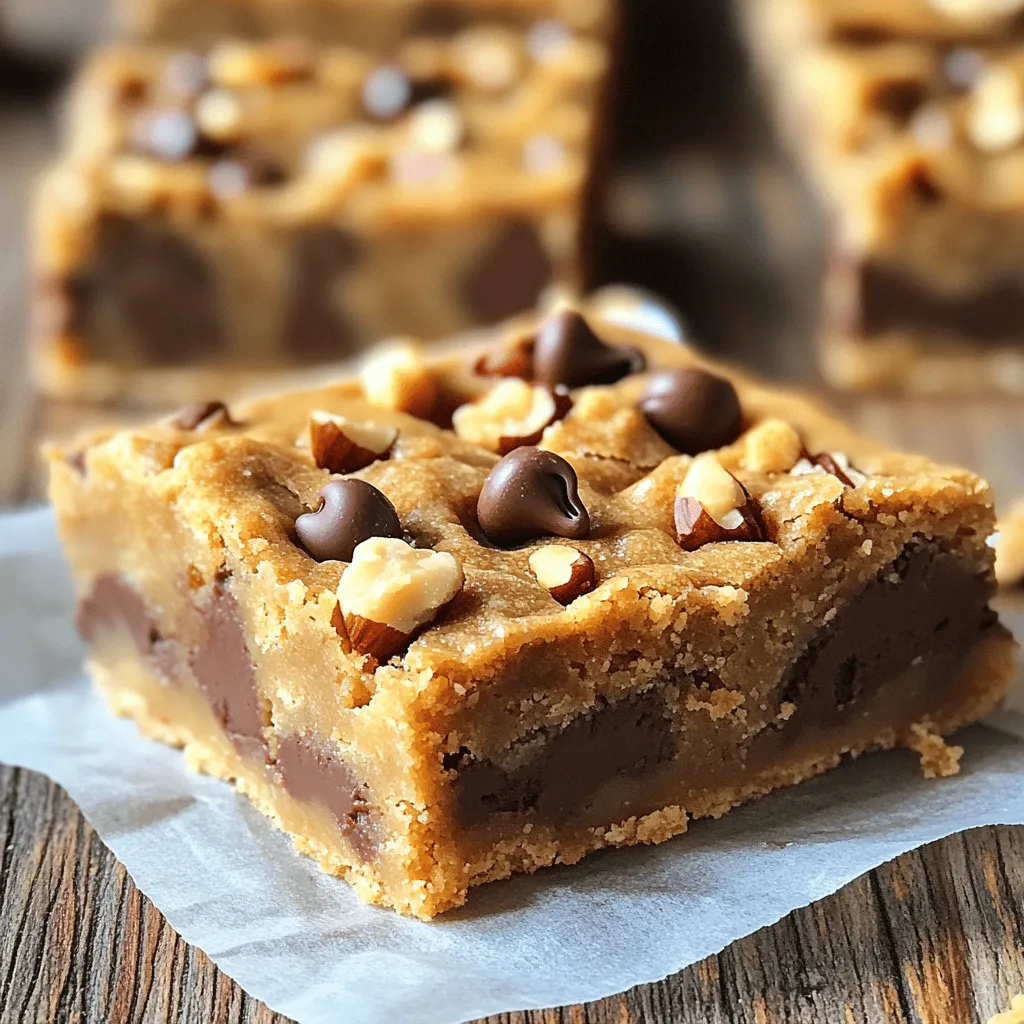
– Chocolate chip with nuts: Add 1/4 cup of crushed nuts, like walnuts or pecans, for extra crunch. The nuts pair well with the chocolate.
– Peanut butter and banana: Swap the chocolate chips for dried banana slices. This adds a sweet and fruity twist.
– Vegan and gluten-free alternatives: Use almond flour and a nut butter to keep it vegan. Make sure your chocolate chips are dairy-free for a tasty vegan option.
Different Serving Options
You have options for how to serve these bars:
– Individual servings vs. larger bars: You can cut the bars into squares or rectangles. For a fun twist, use cookie cutters to make fun shapes.
– Freezing for later enjoyment: These bars freeze well. Cut them into pieces, wrap them, and store them in the freezer. They make a quick treat later on.
Dessert Pairing Ideas
Enhance your dessert experience with these pairing ideas:
– Suggested toppings: Drizzle with chocolate or top with whipped cream. Fresh fruit can add a nice touch too.
– Ideal beverages to serve alongside: Serve these bars with milk, coffee, or a smoothie. The drinks balance the sweetness and add fun flavors.
Storage Info
Best Practices for Storage
Store your no-bake cookie dough bars in an airtight container. This keeps them fresh. Use a glass or plastic container with a tight seal. You can keep them in the refrigerator for up to one week. If you want to store them longer, place them in the freezer. They can last for up to three months in the freezer.
Signs of Spoilage
Check for any changes in color or smell. If the bars have a sour scent, they may be bad. Look for any mold or spots on the surface. If you see any, it’s best to throw them away. To extend freshness, always keep them sealed tightly. You can also place a piece of parchment paper between bars to avoid sticking.
Reheating or Refreshing Bars
If your bars feel too firm, you can warm them slightly. Place them in the microwave for about 10 seconds. This will help soften them. Serve them with a scoop of ice cream or a drizzle of chocolate. To revive texture, let them sit at room temperature for a few minutes before serving.
FAQs
Can I make these bars vegan?
Yes, you can make these bars vegan. To do this, replace honey or maple syrup with agave syrup. Use almond butter instead of peanut butter. Make sure your chocolate chips are dairy-free. This way, you keep the yummy taste while making it vegan.
How long do the no-bake cookie dough bars stay fresh?
These bars can last about one week in the fridge. Store them in an airtight container to keep them fresh. If you want to keep them longer, you can freeze them. In the freezer, they can stay good for up to three months.
Can I substitute almond flour with all-purpose flour?
You can use all-purpose flour, but it changes the texture. Almond flour gives a nutty taste and chewiness. All-purpose flour makes it more cake-like. If you choose all-purpose flour, add a little more liquid. This helps to keep the bars moist.
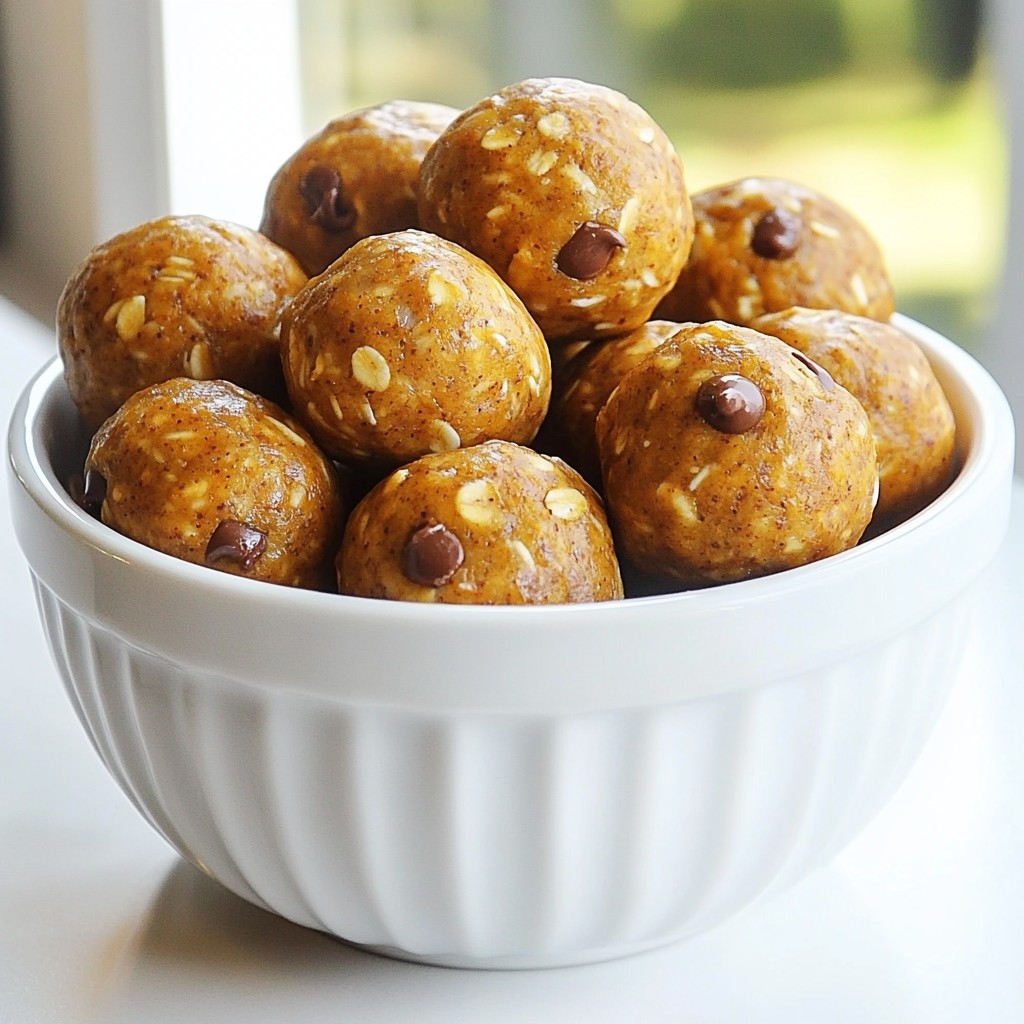
What are other uses for this recipe?
You can make cookie dough truffles or bites with this recipe. Just roll the dough into balls instead of pressing it into a dish. Dip them in chocolate for a fun treat. You can also add sprinkles or nuts for more flavors.
Do I need to use peanut butter?
No, you don’t have to use peanut butter. You can swap it for almond butter or cashew butter. For nut-free options, use sunflower seed butter or soy nut butter. Each choice gives a different taste and texture, keeping it fun.
How can I add protein to these bars?
You can add protein powder to the dough for a boost. About one scoop of protein powder works well. You could also mix in nuts or seeds. Chia seeds or hemp seeds are great options. These add protein and extra crunch.
These cookie dough bars are easy and fun to make. You learned about the key ingredients, preparation steps, and storing tips. Remember to customize based on your taste and needs. Use the storage advice to keep them fresh longer.
With these simple guidelines, you can enjoy tasty bars anytime. You have the tools to create a delicious snack perfect for all occasions. Go ahead and get started on your next batch!