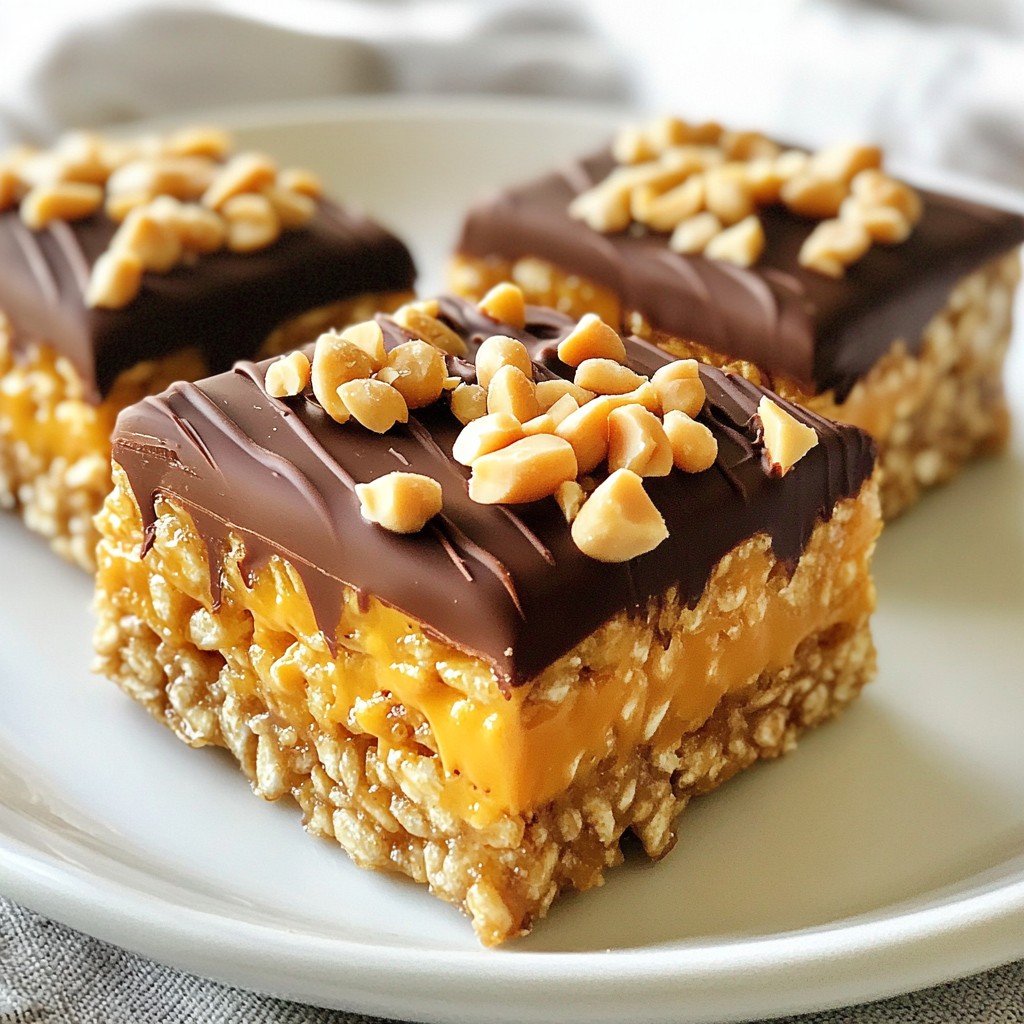
Craving a treat that’s both easy and delicious? Look no further than my Peanut Butter Chocolate Rice Krispie Bars! These bars combine crunchy Rice Krispies with rich peanut butter and sweet chocolate for a perfect snack. I'll walk you through simple steps to make this tasty treat at home. So grab your ingredients and let’s get started on a sweet adventure that everyone will love!
Why I Love This Recipe
- Quick and Easy: This recipe is simple to make and requires minimal ingredients, making it perfect for a last-minute treat.
- Delicious Flavor Combination: The rich chocolate and creamy peanut butter create a mouthwatering contrast that’s hard to resist.
- Perfect for Sharing: These bars are easily cut into squares, making them ideal for parties, gatherings, or just sharing with friends and family.
- Customizable: You can add your favorite toppings or mix-ins, like crushed peanuts or dried fruit, to personalize these bars to your taste.
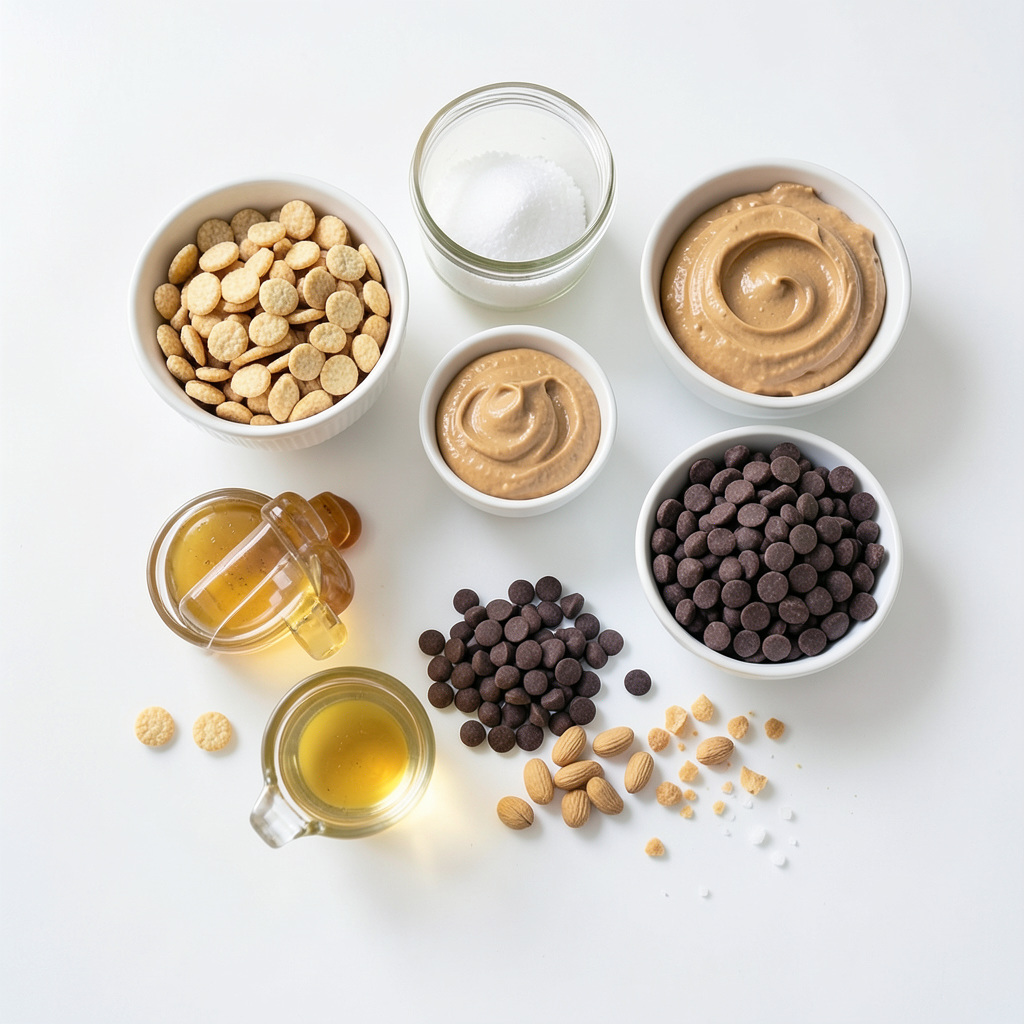
Ingredients
Rice Krispies Cereal
You need 3 cups of Rice Krispies cereal. This cereal gives the bars their crunch and lightness. It holds the peanut butter mix well, making each bite crispy and satisfying.
Peanut Butter
For the heart of the recipe, use 1 cup of creamy peanut butter. This ingredient adds flavor and richness. It also helps bind the bars together, creating a chewy texture that you will love.
Sweeteners (Honey or Maple Syrup)
You can choose between 1/2 cup of honey or maple syrup. Both sweeteners add a natural touch. Honey gives a floral note, while maple syrup adds a hint of woodsy sweetness. Pick what you like best!
Chocolate Chips
Use 1 cup of semi-sweet chocolate chips for the topping. These chips melt perfectly and provide a rich, chocolatey layer. They contrast nicely with the peanut butter and add a lovely sweetness to each bite.
Vanilla Extract
Add 1 teaspoon of vanilla extract to boost the flavor. This ingredient enhances the overall taste of the bars, making them even more delicious. The vanilla blends well with both the peanut butter and chocolate.
Sea Salt
You only need 1/4 teaspoon of sea salt. This tiny amount helps to balance the sweetness. It enhances the flavors of the peanut butter and chocolate, making every bite taste better.
Optional Toppings (Crushed Peanuts)
For a fun crunch, consider adding 1/4 cup of crushed peanuts on top. They add texture and extra flavor. Plus, they make the bars look even more inviting and tasty!
These ingredients come together to create a delightful treat. Each component plays an important role in the flavor and texture of the peanut butter chocolate rice Krispie bars.
Step-by-Step Instructions
Preparing the Peanut Butter Mixture
Start by getting a medium saucepan. Set it on low heat. Add 1 cup of creamy peanut butter, 1/2 cup of honey or maple syrup, and 1/4 teaspoon of sea salt. Stir this mix gently until it becomes smooth. This should take about 2-3 minutes.
Once it is smooth, take the pan off the heat. Now, stir in 1 teaspoon of vanilla extract. This step adds a nice flavor to your bars.
Coating the Rice Krispies
Next, grab a large mixing bowl. Pour in 3 cups of Rice Krispies cereal. Carefully drizzle the warm peanut butter mixture over the cereal. Use a spatula or wooden spoon to mix well. Make sure every piece of cereal is coated with the peanut butter mix.
Preparing the Baking Dish
Now, you need an 8x8 inch baking dish. Line it with parchment paper. Let the paper hang over the edges. This will help you lift the bars out later. It’s a simple but important step for easy cutting.
Pressing the Mixture into the Dish
Transfer the Rice Krispie mixture into the lined dish. Use your spatula to press it down firmly and evenly. This helps pack it tightly. A good texture starts here, so don’t rush this step.
Melting the Chocolate
Next, take a microwave-safe bowl. Add 1 cup of semi-sweet chocolate chips. Melt them in the microwave. Do it in 30-second intervals, stirring after each time. Keep going until the chocolate is completely melted and smooth.
Topping the Bars
Once the chocolate is melted, pour it over the pressed Rice Krispies. Use your spatula to spread it out evenly. If you want, add 1/4 cup of crushed peanuts on top for extra crunch. This makes your bars look great too.
Cooling and Setting
Let the bars cool at room temperature for about 30 minutes. After that, put the dish in the fridge for at least 1 hour. This helps the chocolate set. Once set, lift the bars out using the parchment paper. Place them on a cutting board and slice into squares or rectangles. Enjoy your Peanut Butter Chocolate Rice Krispie Bars!
Tips & Tricks
Achieving the Best Texture
To get the perfect texture in your bars, focus on pressing the mixture tightly. When you firmly pack the Rice Krispies and peanut butter mix into the dish, it holds together better. Use a spatula to press down evenly. This step is key for a chewy yet crisp bite. If you want extra crunch, sprinkle crushed peanuts on top before the chocolate sets.
Storing the Bars Effectively
Store your Peanut Butter Chocolate Rice Krispie Bars in an airtight container. Layer parchment paper between bars to prevent sticking. Keep them in a cool, dry place for up to a week. For longer storage, place them in the fridge. They can last up to two weeks when chilled. If you want, you can also freeze them. Just wrap each bar tightly in plastic wrap.
Handling Melted Chocolate
When melting chocolate, do it slowly and carefully. Use a microwave-safe bowl and heat in 30-second bursts. Stir after each interval until smooth. If the chocolate is too thick, add a tiny bit of coconut oil to thin it out. Pour it over the bars while it's warm for an even layer. Let the chocolate cool to set properly. This ensures a nice, glossy finish.
Pro Tips
- Use Natural Sweeteners: For a healthier option, consider substituting honey with agave nectar or maple syrup. Both offer a unique flavor profile and are great alternatives.
- Press Firmly: When packing the Rice Krispies mixture into the baking dish, make sure to press it down firmly. This helps to create a denser, chewier bar that holds together better.
- Experiment with Mix-ins: Add in some mini marshmallows, dried fruits, or chocolate chunks to the Rice Krispies mixture for extra flavor and texture.
- Storage Tips: Store the bars in an airtight container at room temperature for up to a week or refrigerate them for longer freshness. They can also be frozen for up to 3 months.
Variations
Adding Nuts or Seeds
You can enhance your Peanut Butter Chocolate Rice Krispie Bars by adding nuts or seeds. Try chopped almonds, walnuts, or sunflower seeds. These additions give a nice crunch and boost the nutrition. Just mix in about 1/2 cup of your chosen nuts or seeds when you coat the Rice Krispies. This simple step adds flavor and texture.
Using Different Chocolate Flavors
Don’t feel limited to semi-sweet chocolate chips. You can use dark chocolate, milk chocolate, or even white chocolate. Each type brings a new taste to your bars. Melt the chocolate as usual and pour it over the Rice Krispies. Experiment with different flavors to match your mood or cravings.
Incorporating Dried Fruits
Dried fruits can also add a sweet and chewy element to your bars. Consider adding raisins, cranberries, or chopped dates. Mix about 1/2 cup of dried fruits into the Rice Krispies before adding the peanut butter mixture. This variation adds a burst of flavor and makes the bars even more delightful.
Storage Info
Best Storage Practices
Store your Peanut Butter Chocolate Rice Krispie Bars in an airtight container. This keeps them fresh and tasty. You can place parchment paper between layers to prevent sticking. Keep the container in a cool, dry place. Avoid areas with direct sunlight or heat. If your kitchen is warm, consider the fridge for extra freshness.
Freezing Instructions
These bars freeze well, making them a great treat for later. Wrap each bar individually in plastic wrap. Then, place them in a freezer-safe bag or container. Be sure to remove as much air as possible. They can last up to three months in the freezer. When you’re ready to enjoy, thaw them in the fridge or at room temperature.
Shelf Life
When stored properly, these bars last about one week at room temperature. If you keep them in the fridge, they can stay fresh for up to two weeks. Freezing extends their life, allowing you to enjoy them even longer. Always check for any signs of spoilage before eating.
FAQs
Can I substitute the peanut butter with another nut butter?
Yes, you can use other nut butters. Almond butter or cashew butter works well. Just ensure the nut butter is smooth. This keeps the texture nice in the bars. Keep in mind, the flavor will change slightly. Each nut butter has its own taste.
How do I prevent the chocolate from hardening too much?
To stop the chocolate from hardening too fast, melt it slowly. Use short bursts in the microwave. Stir often to keep it smooth. If it starts to harden, add a bit of coconut oil. This keeps the chocolate creamy and easy to spread.
Can I make these bars vegan?
Yes, you can make vegan bars. Just use maple syrup instead of honey. Choose dairy-free chocolate chips too. This will keep your bars vegan-friendly. The taste will still be delicious and enjoyable for everyone.
How to adjust the sweetness in the recipe?
To change the sweetness, adjust the sweetener. You can add more honey or maple syrup for sweeter bars. If you want less sweetness, reduce the amount used. Taste the mixture before adding to the Rice Krispies. This way, you can find the right balance just for you.
This article covered making Rice Krispies bars with peanut butter, chocolate, and more. You learned key steps and tips for texture and storage. Remember, you can swap in other nut butters or add nuts and dried fruits for fun twists. These bars are easy and tasty, perfect for snacks or treats. Enjoy the sweet results and get creative with your toppings. Happy cooking!