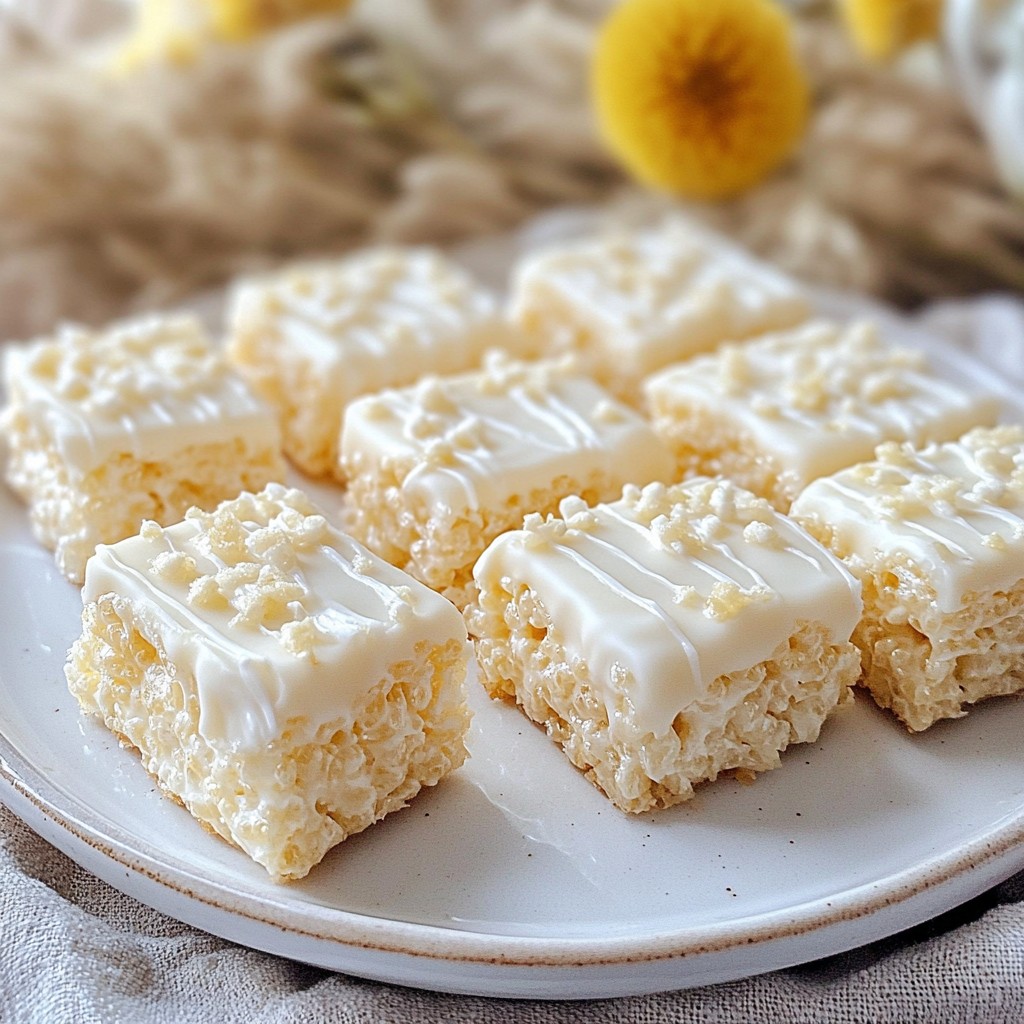
If you love sweet treats, you'll adore my Vanilla Bean Rice Krispie Treats! They combine a classic favorite with a hint of vanilla bean for a delightful twist. In this post, I’ll guide you step-by-step, from gathering the right ingredients to achieving the perfect texture. Plus, I’ll share tips, variations, and storage secrets to help you make these goodies last. Let's dive in and create an easy, delicious treat together!
Why I Love This Recipe
- Unique Flavor Profile: The addition of vanilla bean and pure vanilla extract elevates the traditional Rice Krispie treat to a gourmet level.
- Easy to Make: This recipe comes together in just a few simple steps, perfect for a quick and delicious treat.
- Customizable: Feel free to add your favorite mix-ins like white chocolate chips or sprinkles to make these treats your own.
- Perfect for Any Occasion: These treats are great for parties, holidays, or just a sweet snack at home.
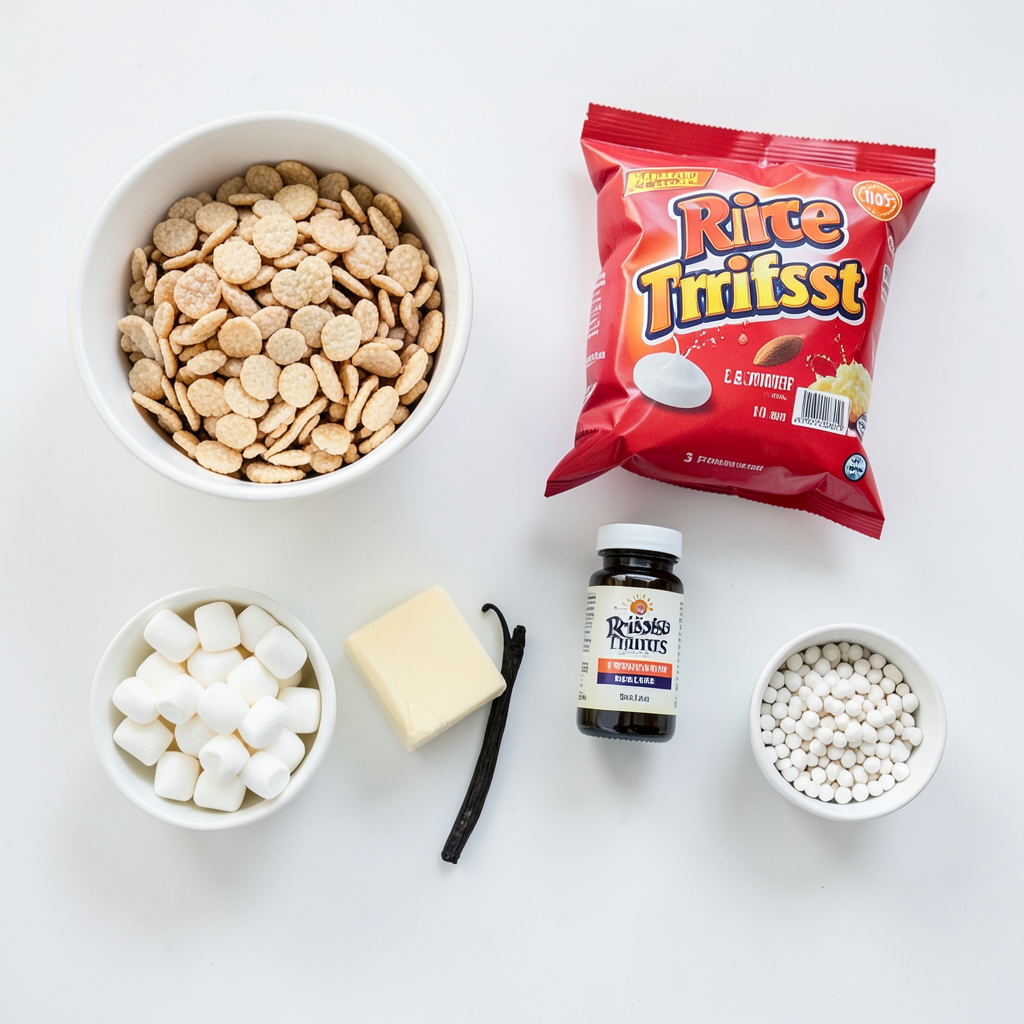
Ingredients
Measuring Rice Krispies and Marshmallows
To make Vanilla Bean Rice Krispie Treats, you need the right amount of each ingredient. For this recipe, use 4 cups of Rice Krispies cereal. This gives the treats their signature crunch. Next, grab 1 package (10 oz) of mini marshmallows. The mini ones melt perfectly and blend well into the mix.
Selecting the Ideal Vanilla Bean
Choosing a good vanilla bean makes a big difference. Look for a bean that is dark and plump. It should feel soft and flexible. This means it has plenty of flavor. When you split it open, you’ll see tiny seeds. These seeds pack a lot of taste. If you can’t find a vanilla bean, you can use 1 teaspoon of pure vanilla extract as a substitute.
Required Tools and Utensils
Gathering your tools makes cooking easier. You will need a large saucepan to melt the butter and marshmallows. A spatula helps stir the mixture without sticking. Use a 9x13 inch pan to shape the treats. Grease it lightly with butter or cooking spray. This step prevents the treats from sticking to the pan. A measuring cup and spoons are also important for accurate measurements.
Step-by-Step Instructions
Melting the Butter and Marshmallows
Start by getting a large saucepan. Place it on low heat. Add the unsalted butter. Stir the butter slowly as it melts. You want it to melt, not brown. When the butter is fully melted, add the mini marshmallows. Use a spatula to mix them in well. Keep stirring until they melt and become smooth. This step makes a glossy marshmallow mix.
Incorporating Vanilla Flavor
Now it’s time to add that rich vanilla flavor. Take your split vanilla bean. Carefully scrape the seeds from it. Add those seeds to your melted marshmallow mix. Next, pour in the pure vanilla extract. Stir it all together well. This step brings out the sweet and warm notes of vanilla in your treats.
Mixing in Rice Krispies
Remove your saucepan from the heat. Add a pinch of salt to the mix. This helps balance the sweetness. Now, gradually add the Rice Krispies cereal. Use your spatula to fold the cereal into the gooey mix. Make sure each piece is well-coated. If you want, fold in the white chocolate chips for extra flavor. This step gives your treats a nice touch of sweetness.
Tips & Tricks
How to Prevent Sticking
To keep your Rice Krispie treats from sticking, grease your pan well. Use butter or cooking spray on the bottom and sides of the pan. This step helps the treats lift out easily. You can also dampen your hands with water or butter when pressing the mixture. This will stop the gooey treat from sticking to your fingers.
Achieving the Perfect Consistency
For the best texture, mix the Rice Krispies gently. If you stir too hard, you may crush the cereal. Aim for a sticky but fluffy mixture. After you pour it into the pan, press it down firmly but don’t pack it too tight. A light touch will keep them soft and chewy.
Importance of Seasoning with Salt
Adding a pinch of salt is key to balancing the sweetness. Salt enhances the flavor of the vanilla and marshmallows. It makes each bite more delicious. Don’t skip this step! The salt brings out the rich taste of the vanilla bean.
Pro Tips
- Use Fresh Vanilla Beans: Fresh vanilla beans provide a deeper, more aromatic flavor compared to extract alone. Make sure to scrape the seeds carefully to maximize the essence in your treats.
- Don’t Overheat the Marshmallows: Keep the heat low when melting the marshmallows to prevent them from becoming too sticky or losing their fluffiness. Stir continuously for a smooth texture.
- Press Firmly: When spreading the mixture into the pan, press down firmly but gently to create a dense, chewy texture. This helps the treats hold their shape when cut.
- Experiment with Mix-ins: Feel free to add different mix-ins like nuts, dried fruits, or other types of chocolate to customize your Rice Krispie treats to your taste!
Variations
Adding White Chocolate Chips
You can boost the flavor and sweetness by adding white chocolate chips. After mixing in the Rice Krispies, gently fold in about 1/2 cup of chips. They will melt slightly and create a rich, creamy texture. This adds a fun twist to your treats. The creamy white chocolate pairs perfectly with the vanilla bean flavor.
Using Different Cereal Types
Rice Krispies are classic, but feel free to try other cereals. You can swap Rice Krispies for Cocoa Krispies for a chocolatey treat. Fruity Pebbles or Cinnamon Toast Crunch can add fun colors and flavors. Each cereal choice gives a unique touch to your treats. Experiment and find your favorite combination.
Flavoring Alternatives (Caramel, Coconut, etc.)
Get creative with different flavors. For a caramel twist, use caramel sauce instead of some butter. If you like coconut, add shredded coconut to the mix. You can also use flavored extracts like almond or coconut. Each option turns a simple treat into something special and unique.
Storage Info
Best Practices for Storing Treats
To keep your Vanilla Bean Rice Krispie Treats fresh, store them in an airtight container. Use wax paper or parchment paper between layers. This helps prevent sticking and keeps them soft. Place the container in a cool, dry place, away from light. Avoid the fridge, as it can make treats hard.
How Long They Last
If stored properly, these treats stay fresh for about a week. After that, they may lose their crunch. Check for any signs of staleness before serving. If they feel hard, they might not taste as good. Fresh treats are always best!
Reheating Tips
If your treats harden, you can soften them. Place a damp paper towel over the treats in the microwave. Heat for about 10-15 seconds. Check if they're soft enough, and repeat if needed. This method helps revive their gooey texture without melting them completely. Enjoy your sweet delight!
FAQs
Can I Use Regular Vanilla Extract Instead?
Yes, you can use regular vanilla extract. I recommend using about one teaspoon. The flavor may not be as strong as from a vanilla bean. Vanilla beans give a special taste and aroma. If you want to try both, feel free! You can mix them for a richer flavor. Just remember, fresh is best.
What to Do If My Treats Are Too Sticky?
If your treats are too sticky, try these tips. First, coat your hands with butter or cooking spray. This will help with sticking when you press the mixture into the pan. If they are still sticky, you might have added too many marshmallows. Next time, use a bit less. You can also chill them in the fridge for a short time. This helps firm them up.
How Can I Make These Rice Krispie Treats Vegan?
To make these treats vegan, swap the butter for a plant-based butter. Use vegan marshmallows instead of regular ones. Both options are easy to find at stores now. Follow the same steps, and you will have delicious vegan treats. They will taste just as good and be great for everyone!
We covered all the key steps to make perfect Rice Krispie treats. Start by measuring Rice Krispies and marshmallows, and pick a good vanilla bean. Melting butter and marshmallows is crucial for flavor. Mixing in Rice Krispies makes it all come together.
Remember to use salt for taste and avoid sticking. Try adding white chocolate or different cereals for a fun twist. Store your treats properly to keep them fresh. With these tips, you can enjoy delicious treats every time. Happy cooking!